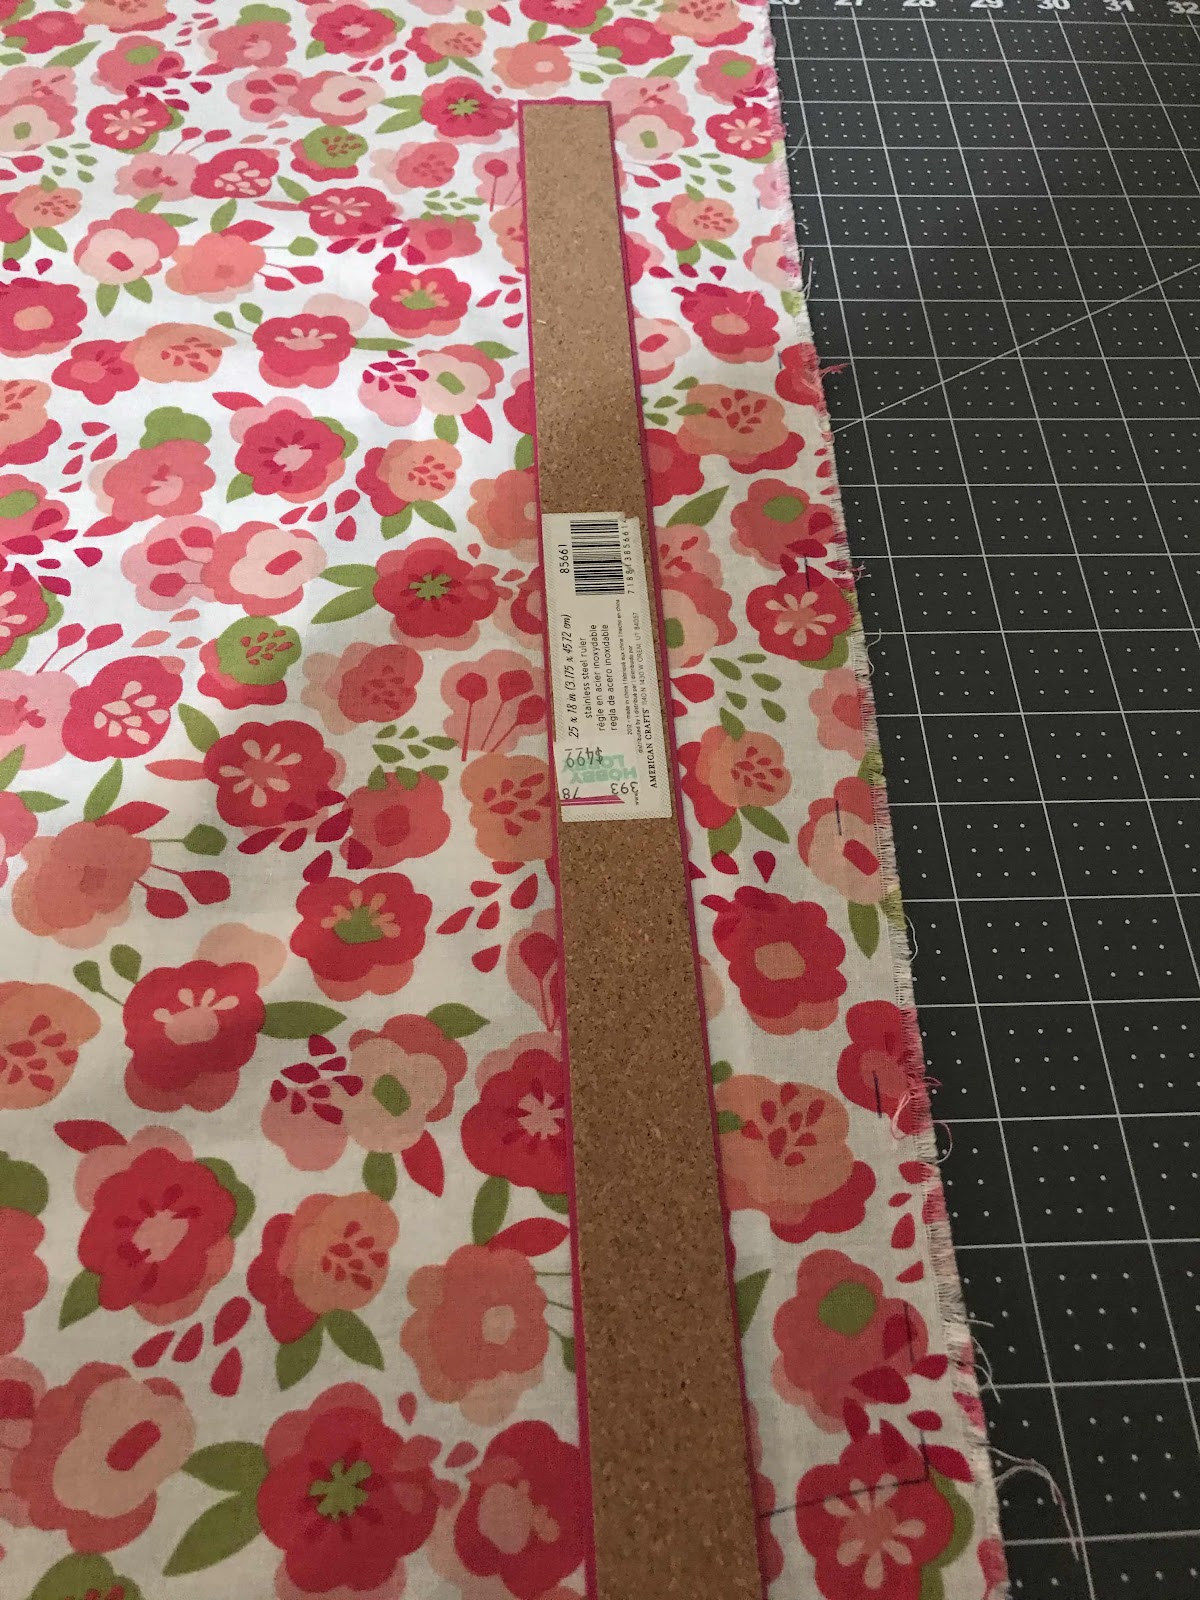
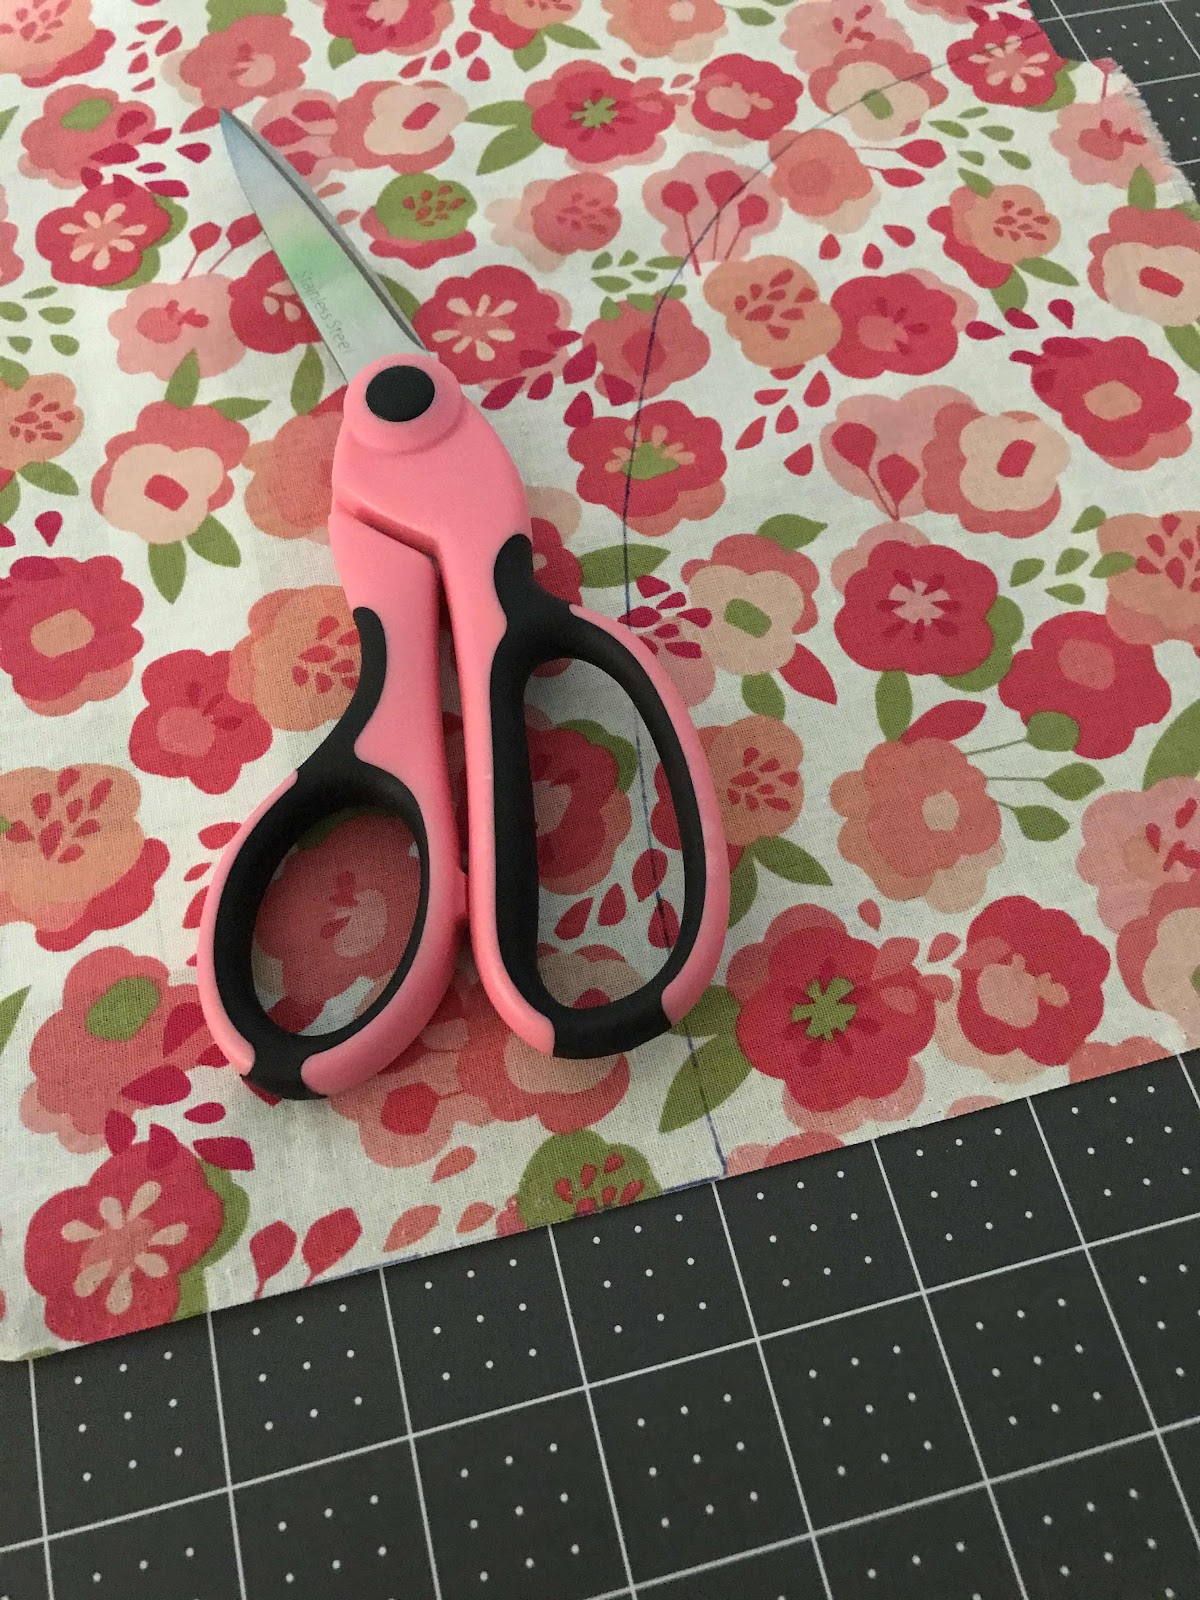
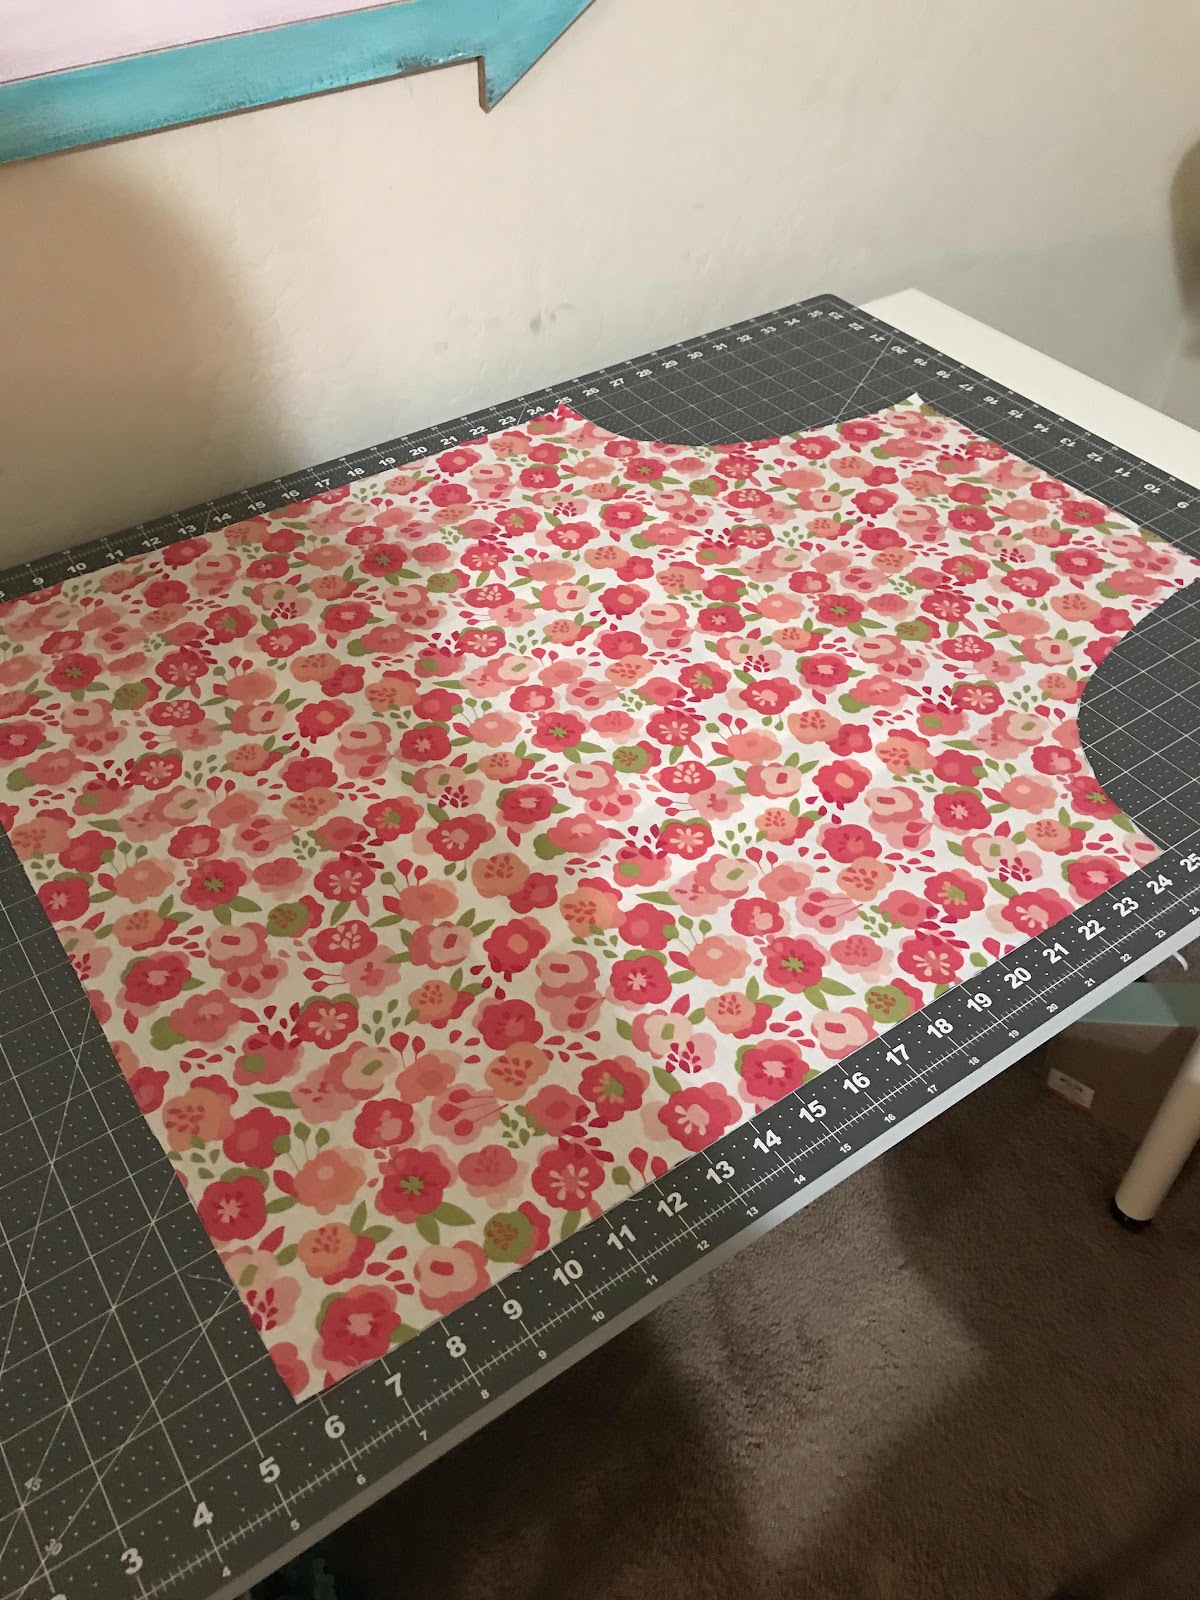
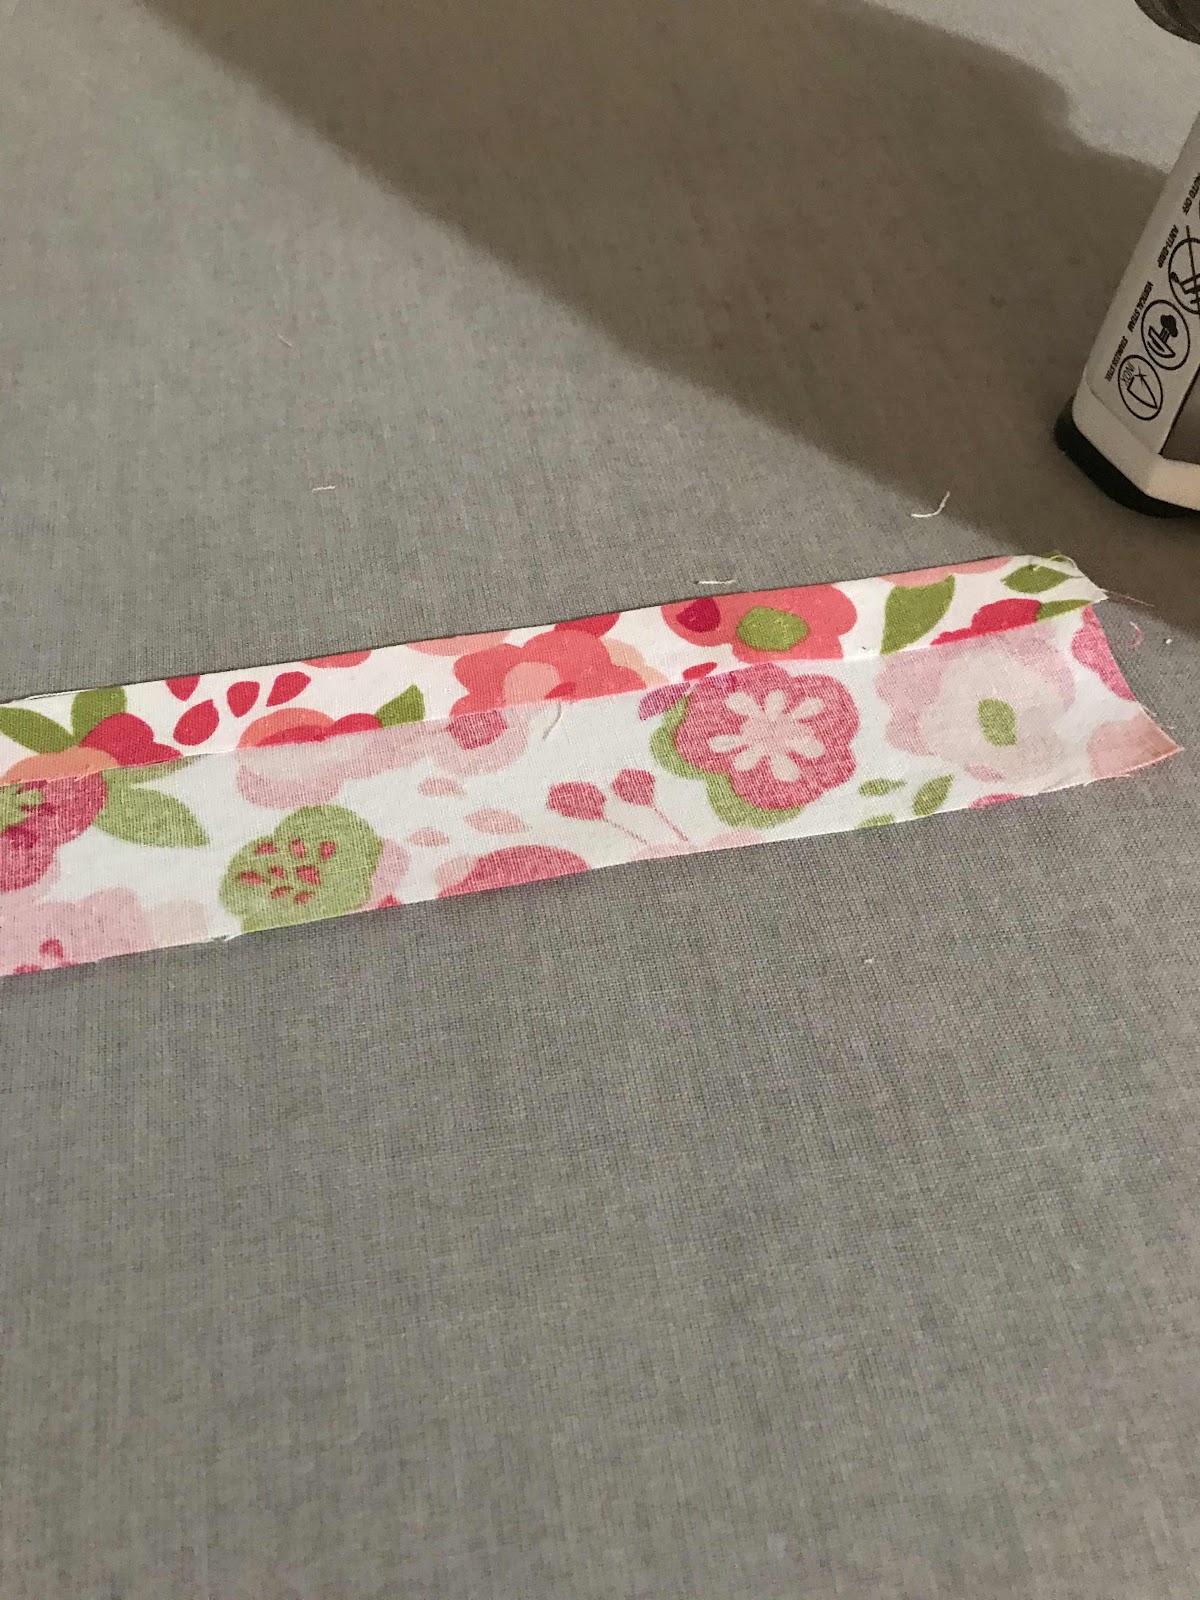
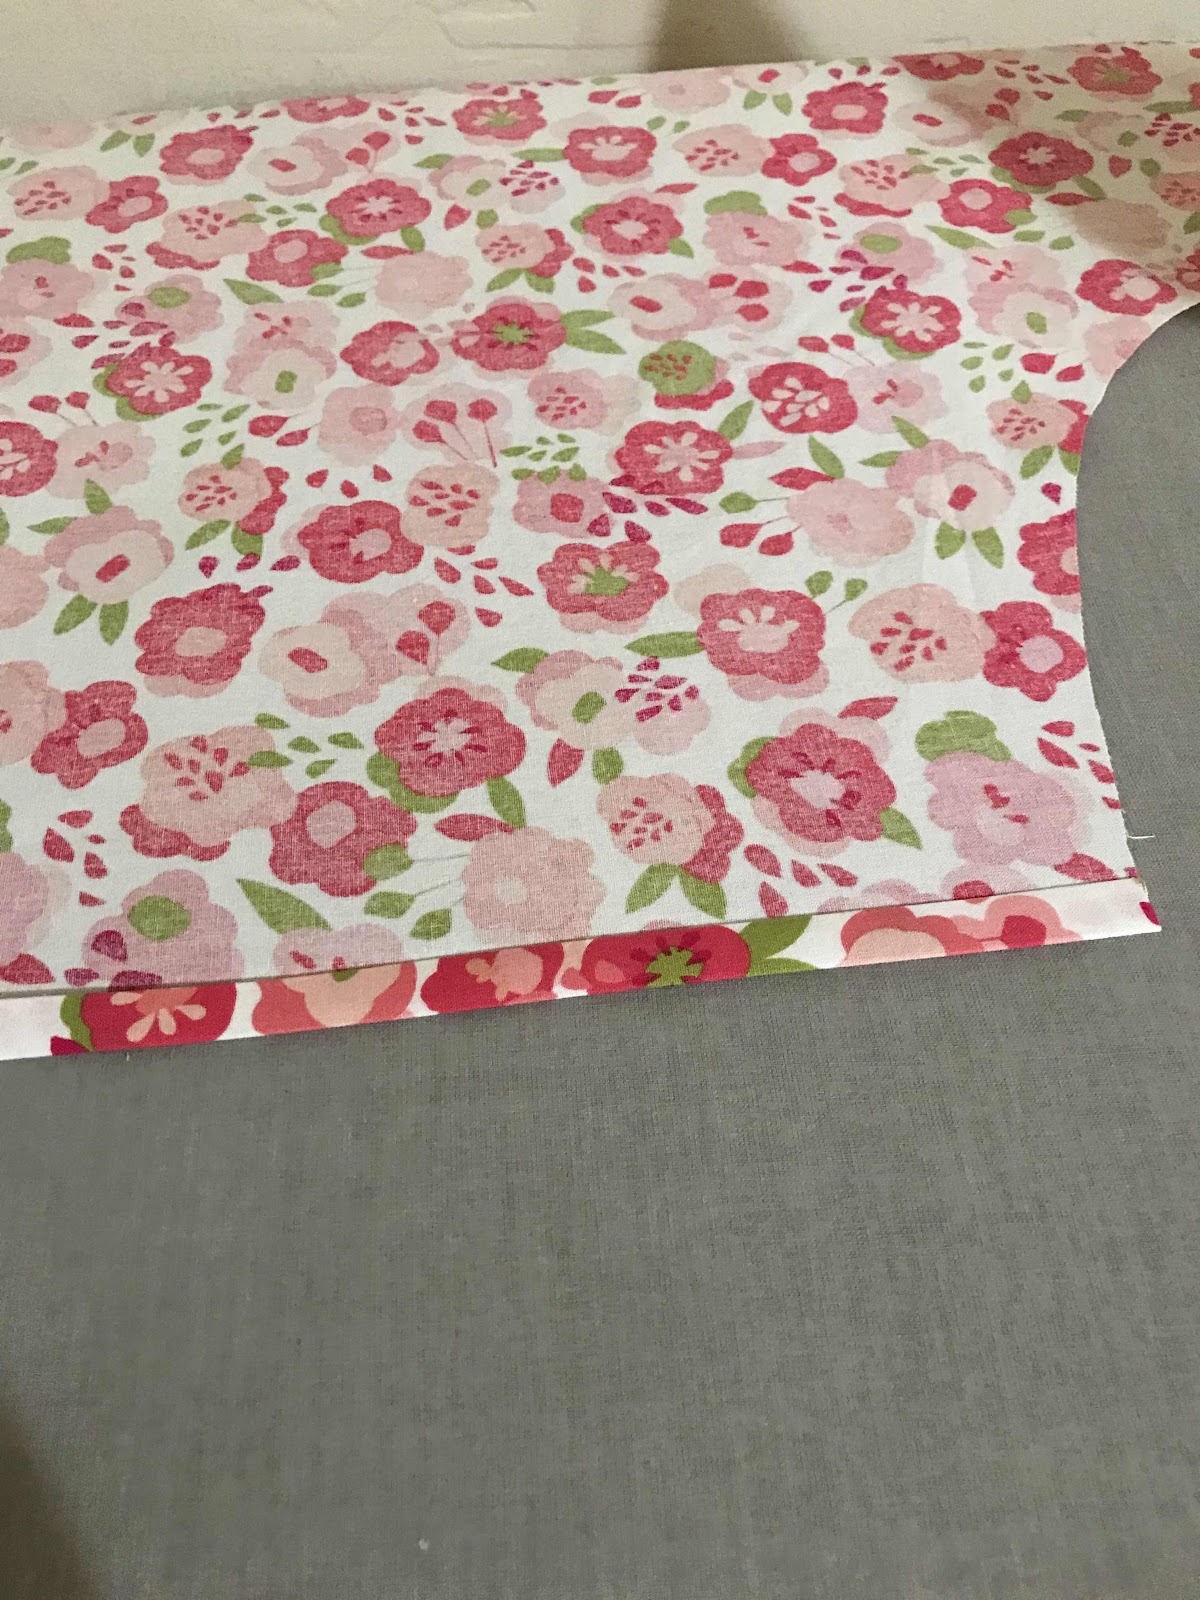
Flowers and hearts Valentine’s Fabric.
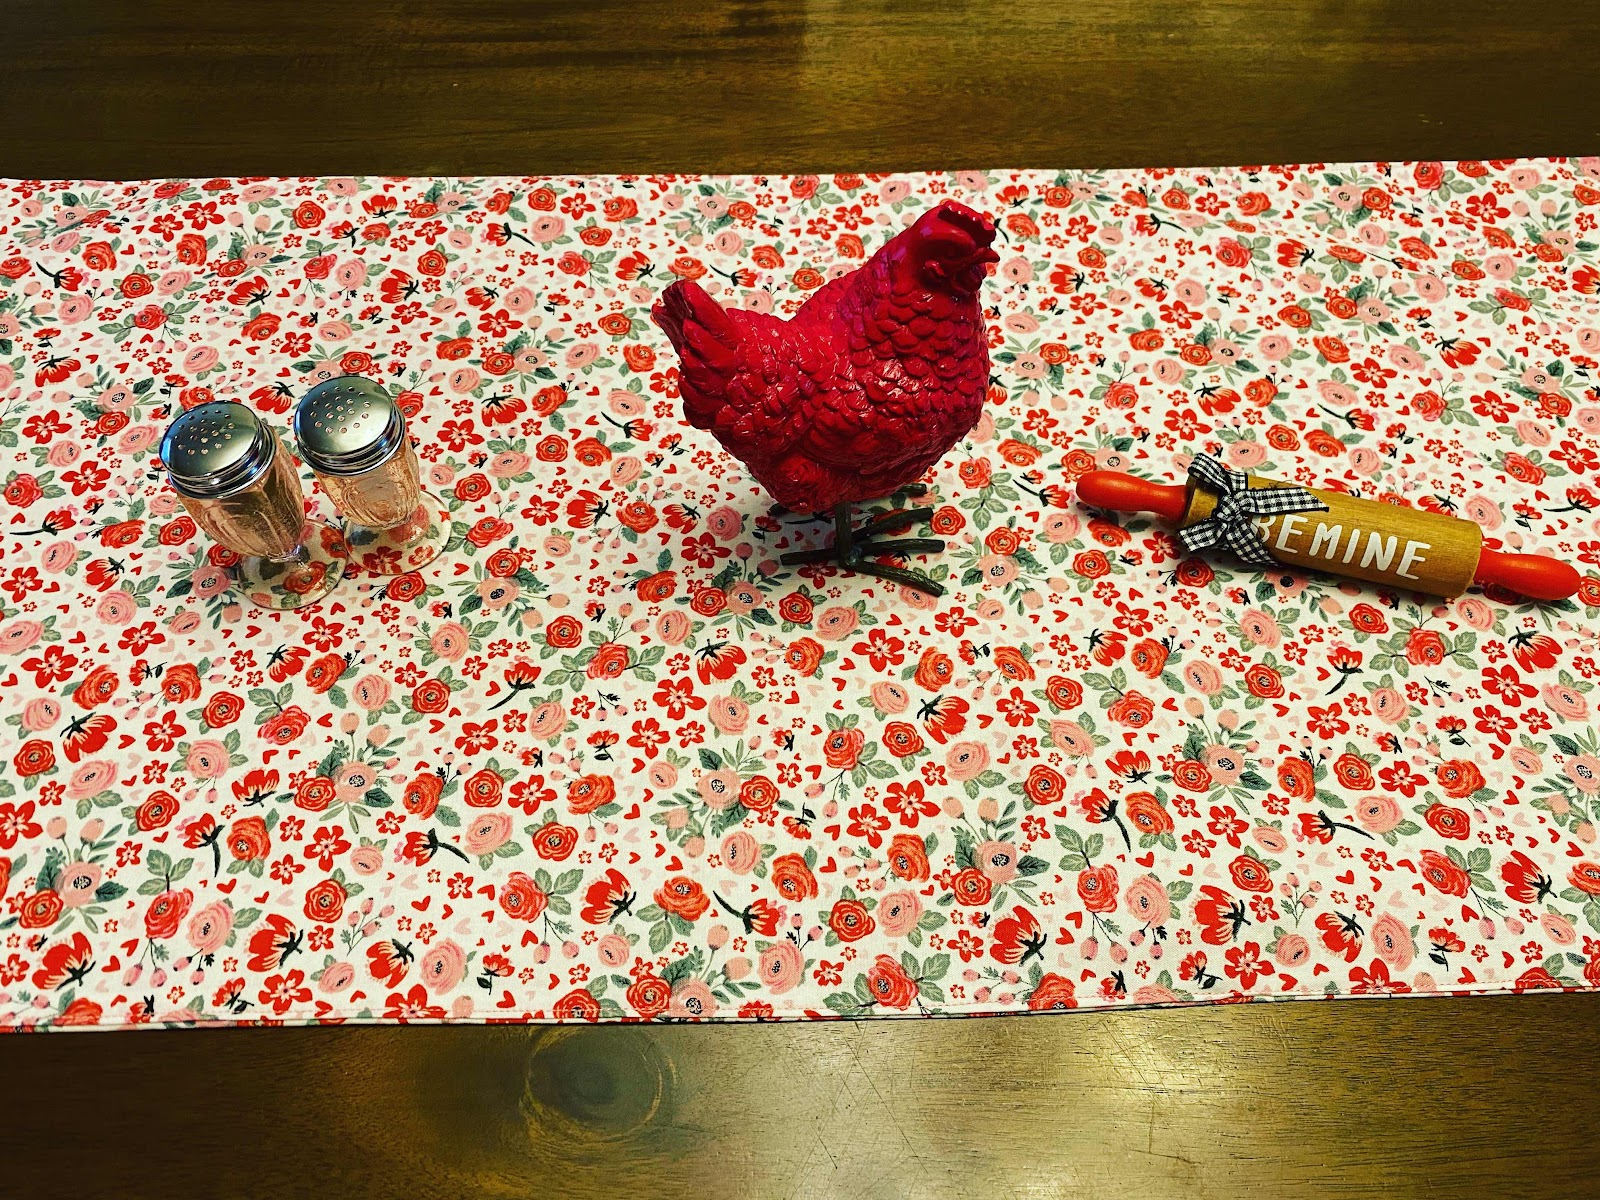
Fabric from Hobby Lobby as well as the rolling pin. The red rooster I bought in Pawhuska, Oklahoma at the Pioneer Woman Mercantile. The pink salt and pepper shakers I bought from an antique store.


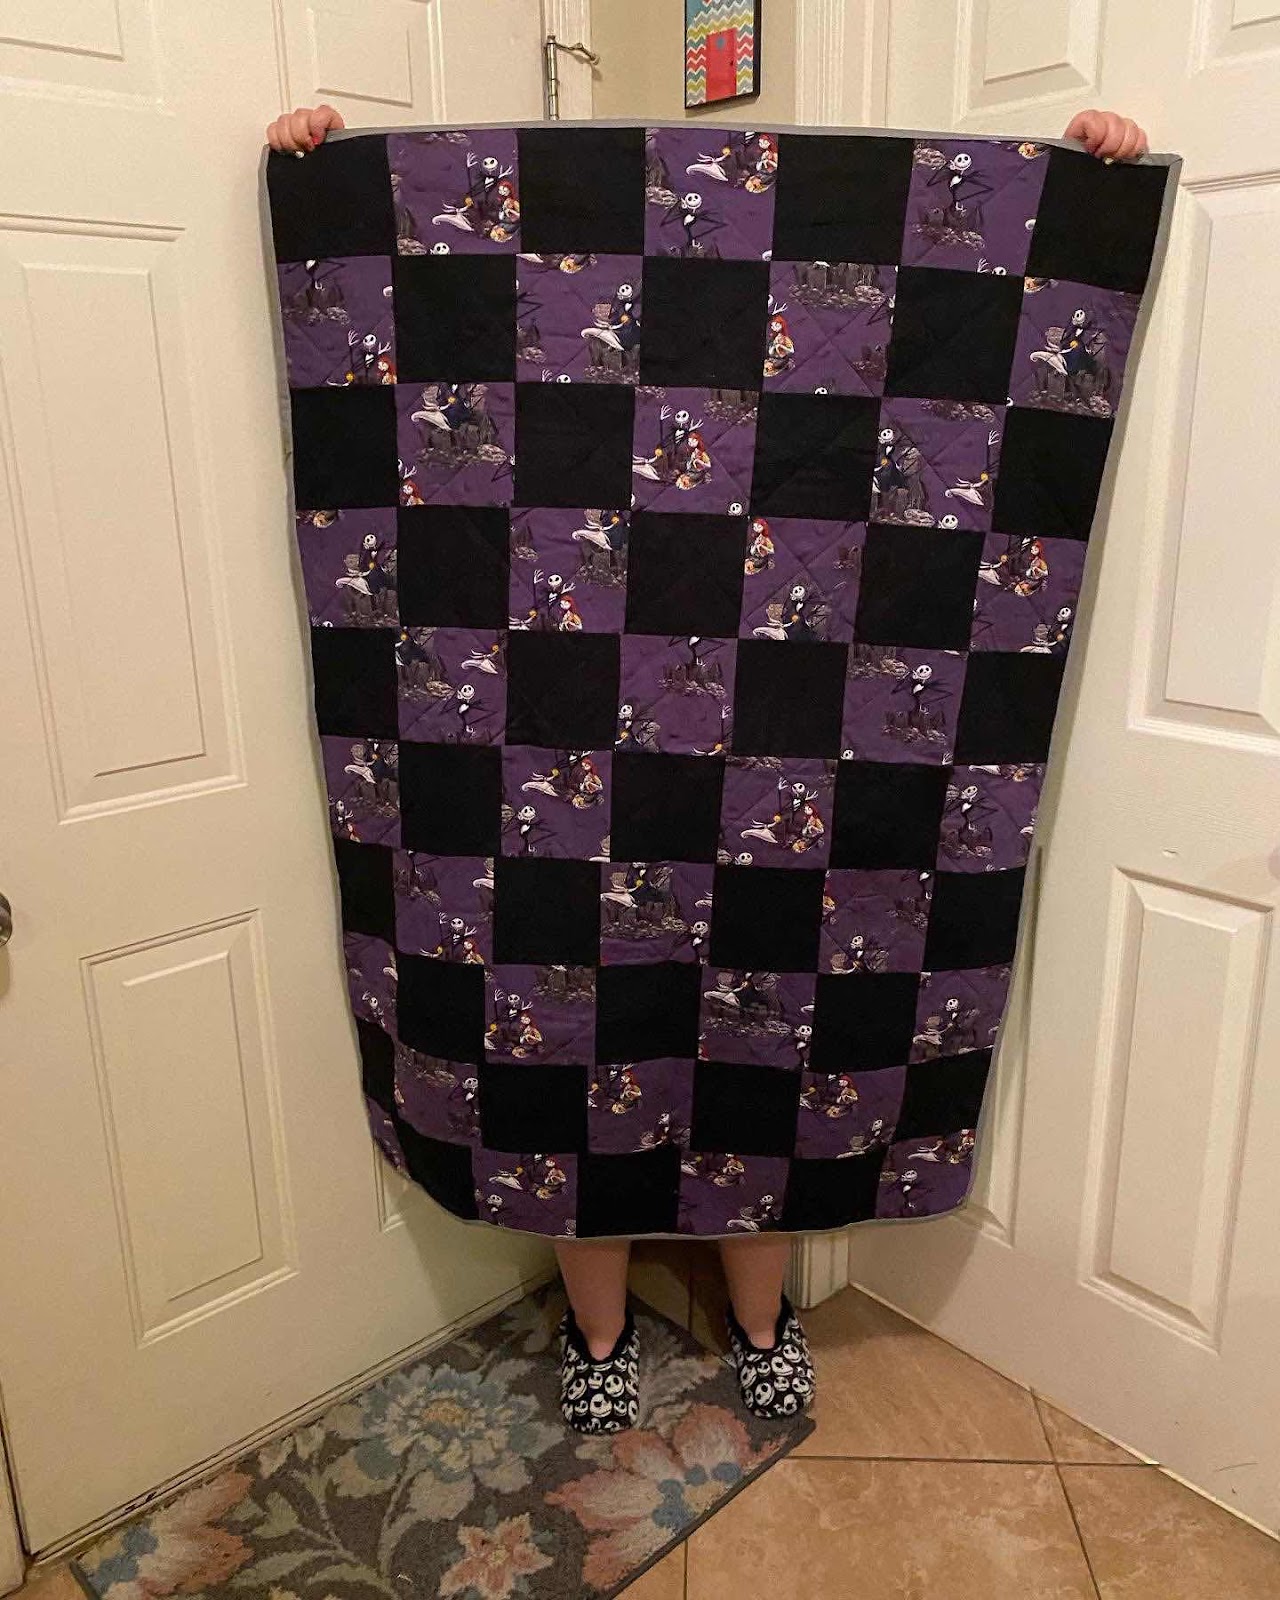
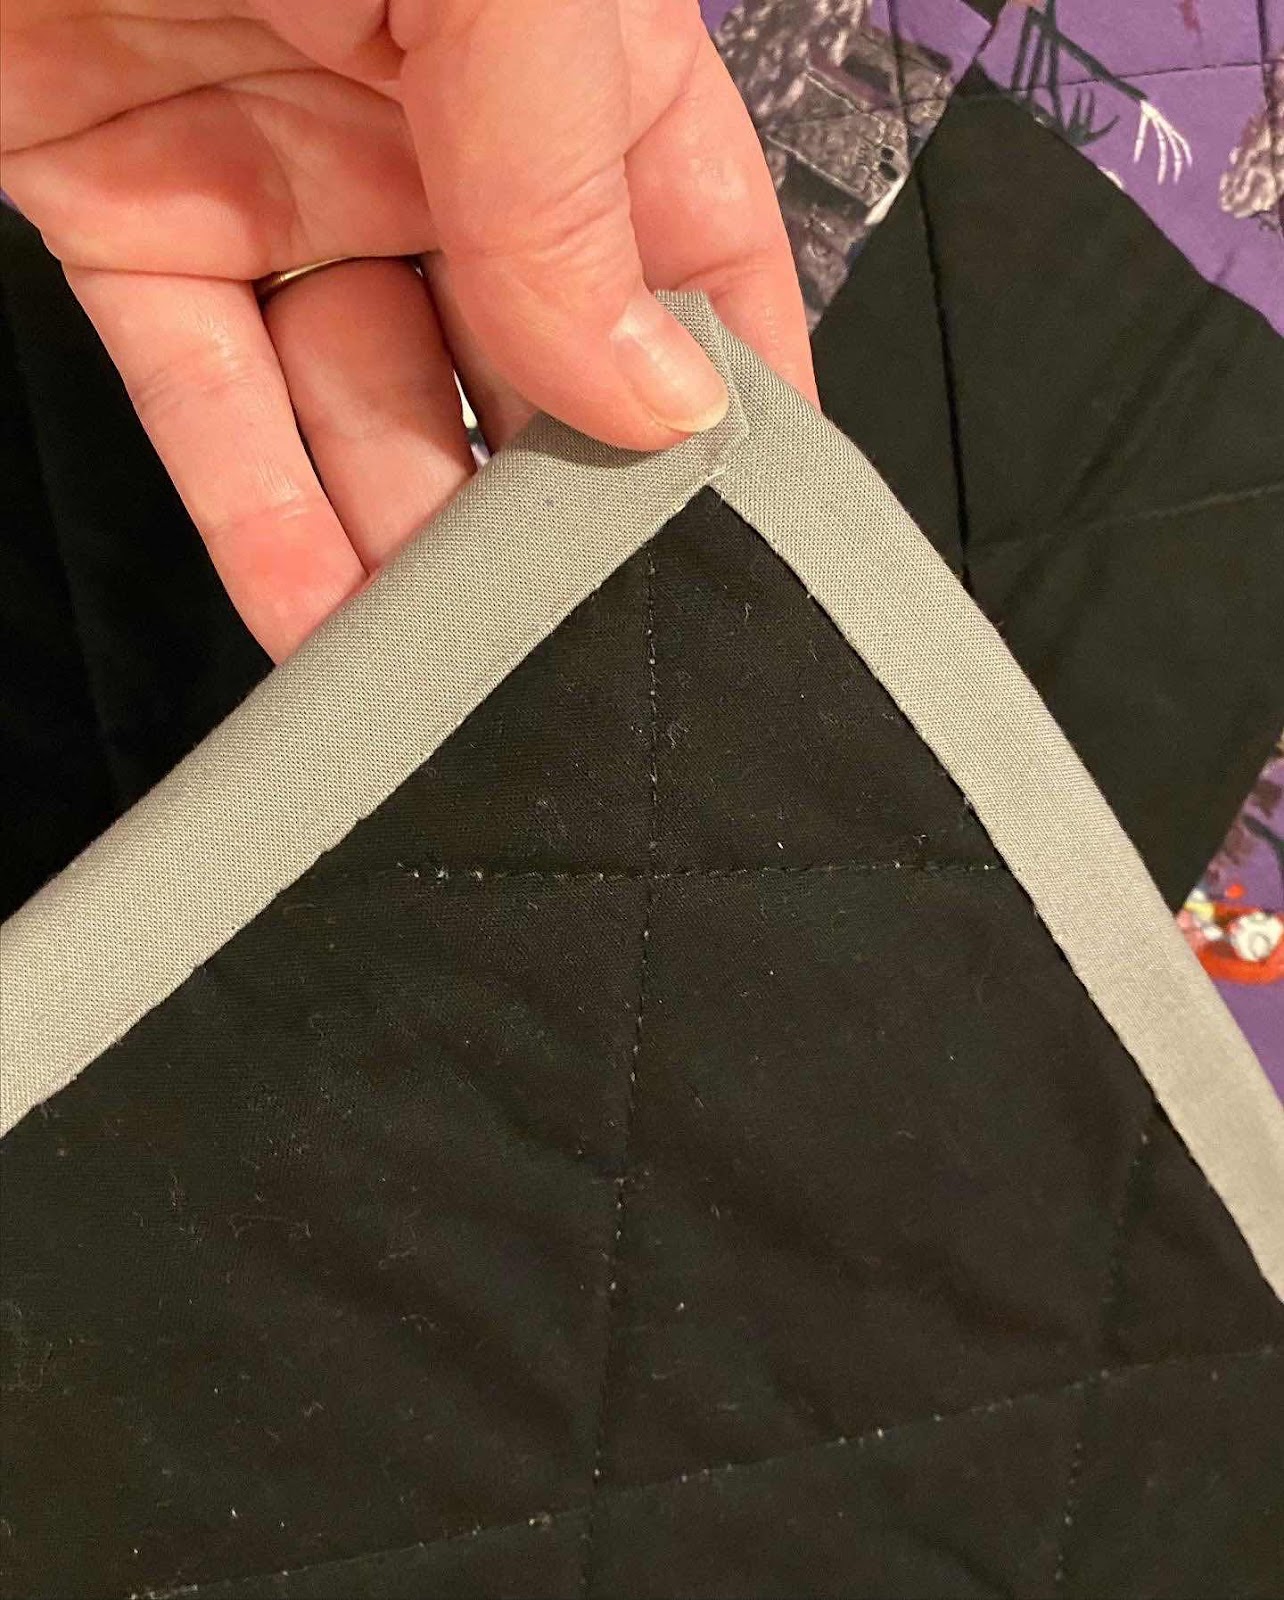
I made two identical quilts for my identical twin daughters. These were last years Christmas gifts.
For Christmas Kindsey and Kendree wanted Nightmare Before Christmas stuff. I decided to make them lap quilts. Then they can use the quilts or display them in their rooms.
My loft is my sewing room. Its a large room that is fantastic, except trying to keep hidden a big project is hard. I wanted to surprise the twins. I didn’t want them to know I was making anything for them.
I only worked on their quilts when they were at work. That was tough since they mostly worked in the evenings. They were part time at the time so some nights their shift was 6-10 pm. I had busy days so it was hard to quilt at night. When it was time to go to bed my back would be on fire. When they were home I covered up everything with other material, or put it in my room.
Christmas morning came. After everyone opened all the gifts we gave the twins the quilts. I got the reaction I was hoping for…pure excitement! Kindsey and Kendree loved the quilts. I was really happy that the girls were so happy.