Showing posts with label Crafts. Show all posts

January 21, 2022

Sewing Tool Wall Hanging


I made these two wall hangings to keep Sewing tools I use. These are hanging on the wall above my ironing board in my sewing room. 

The Thang Sewing Tools are great for turning fabric. The pens are Pilot Frixion Erasable Pens. Sold in the office supply section of stores. Heat from the iron erases the marks from these pens. I use them constantly when sewing especially for quilting. 

July 21, 2021

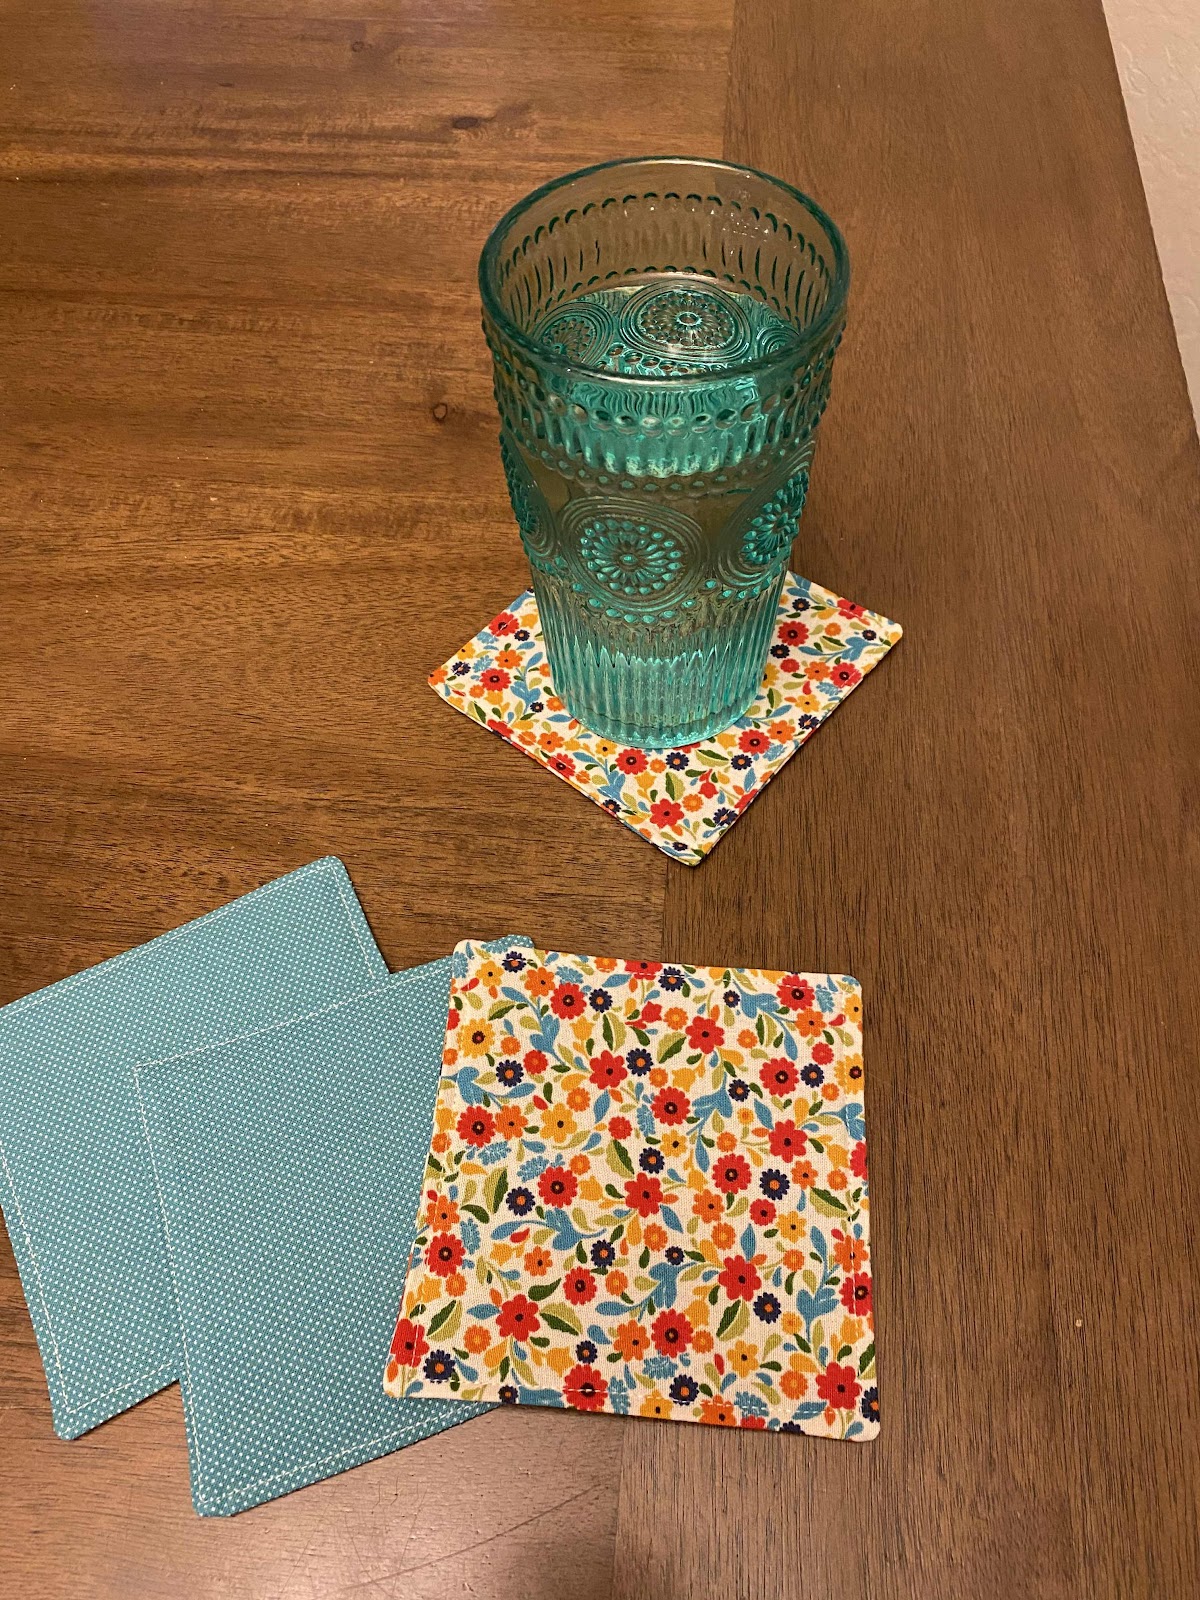
Cute fabric coasters

Fabric coasters are fun to make. 


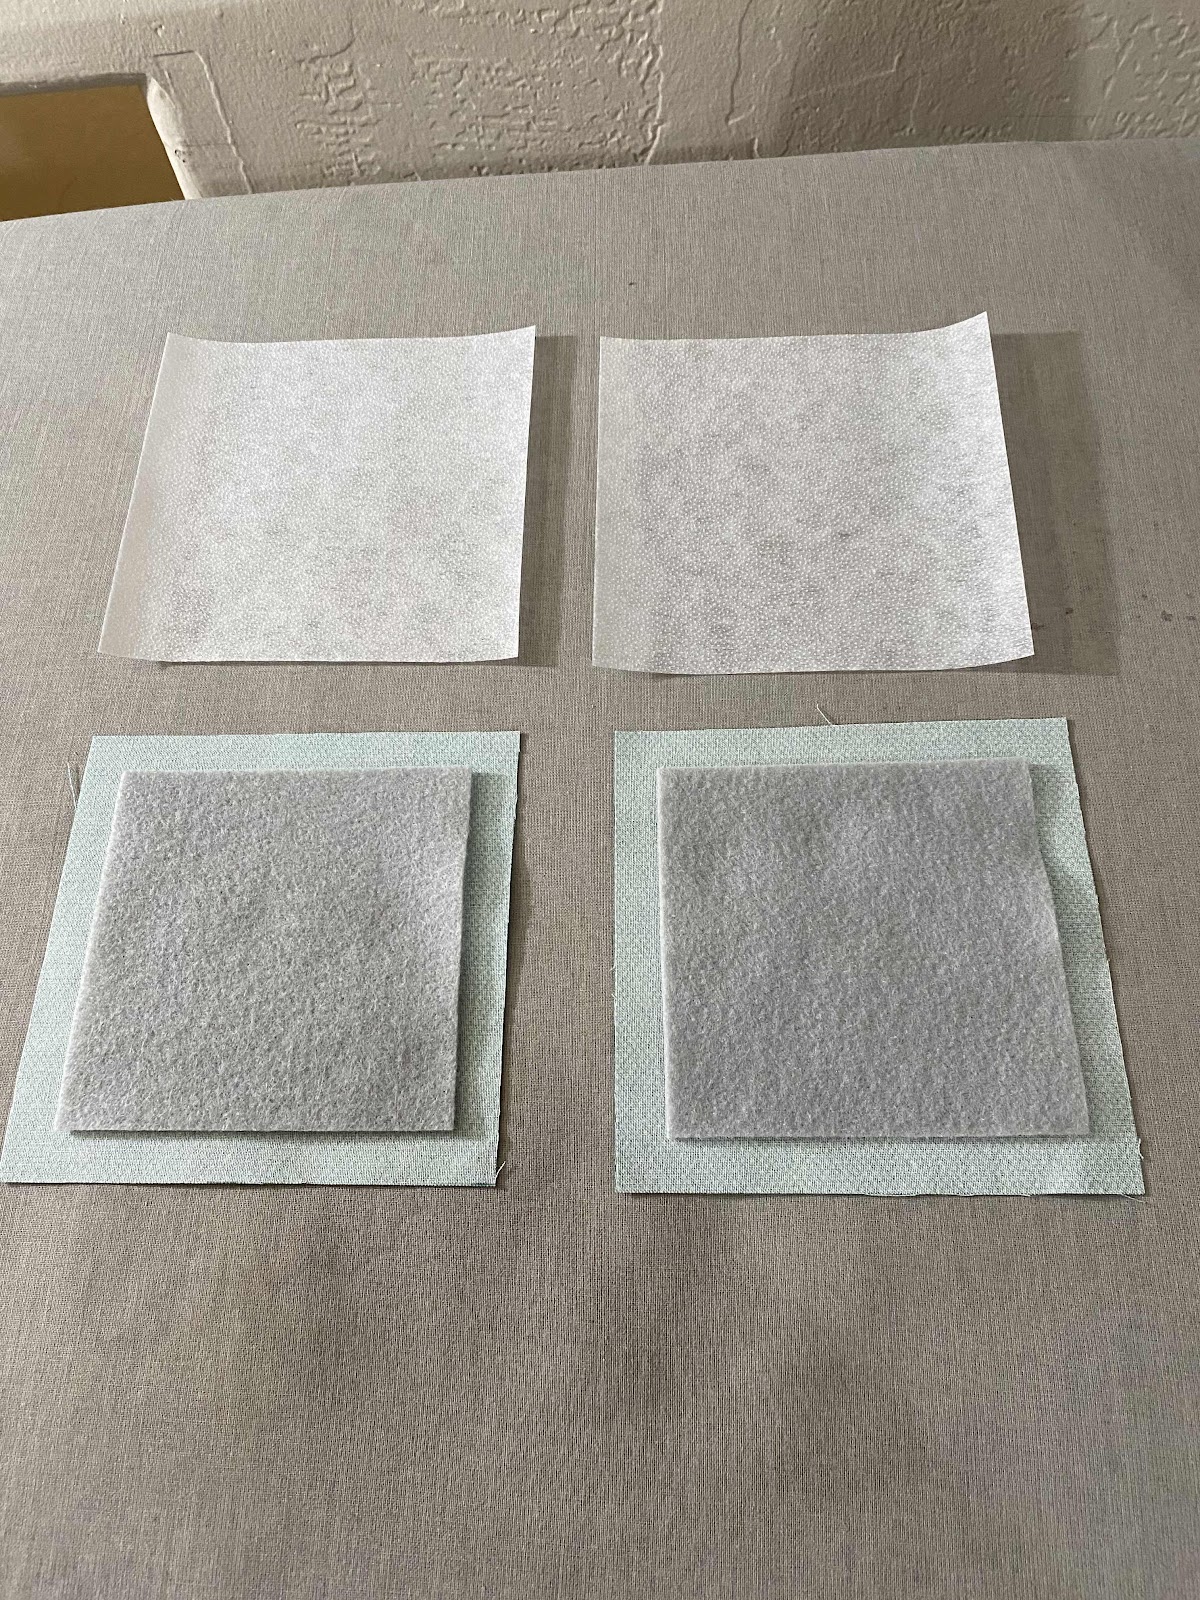
These coasters use  2-4x4 inch fabric squares. 2-3x3 felt squares. 2-4x4 soft interfacing squares. 


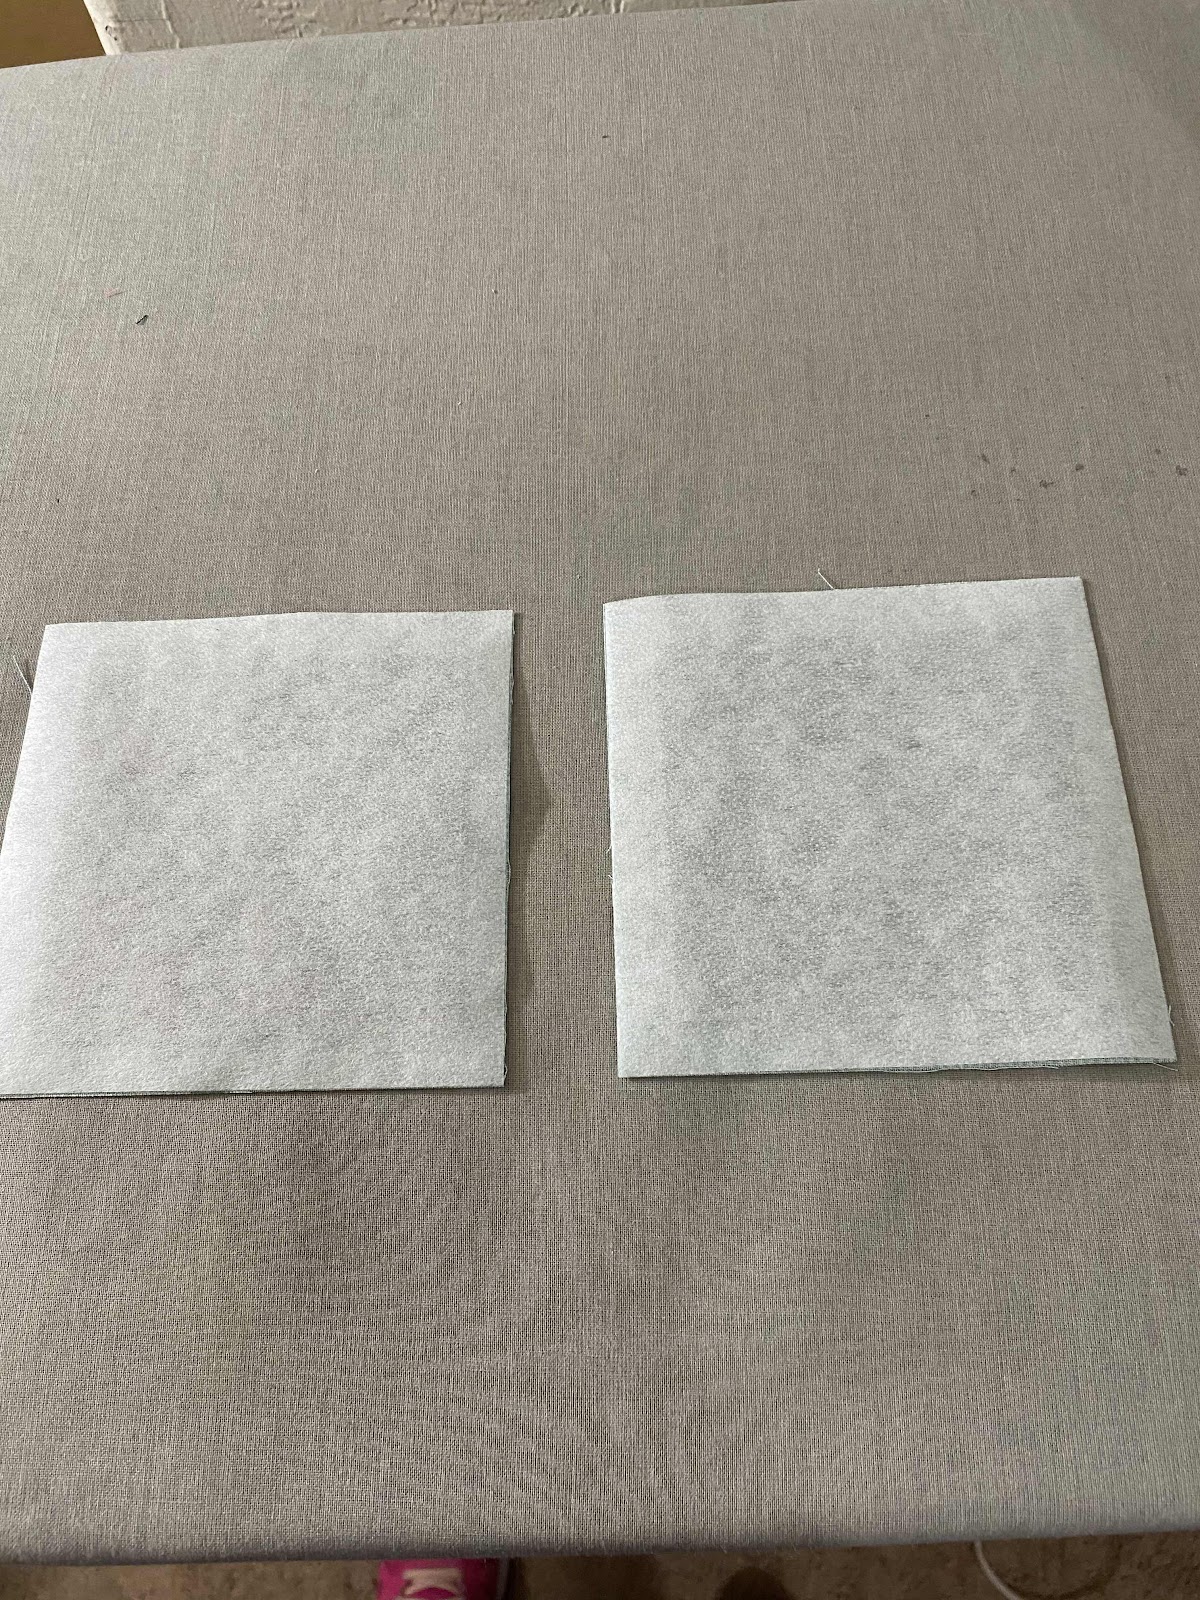
Iron together the fabric, felt and interfacing.


Put right sides of fabric together. 


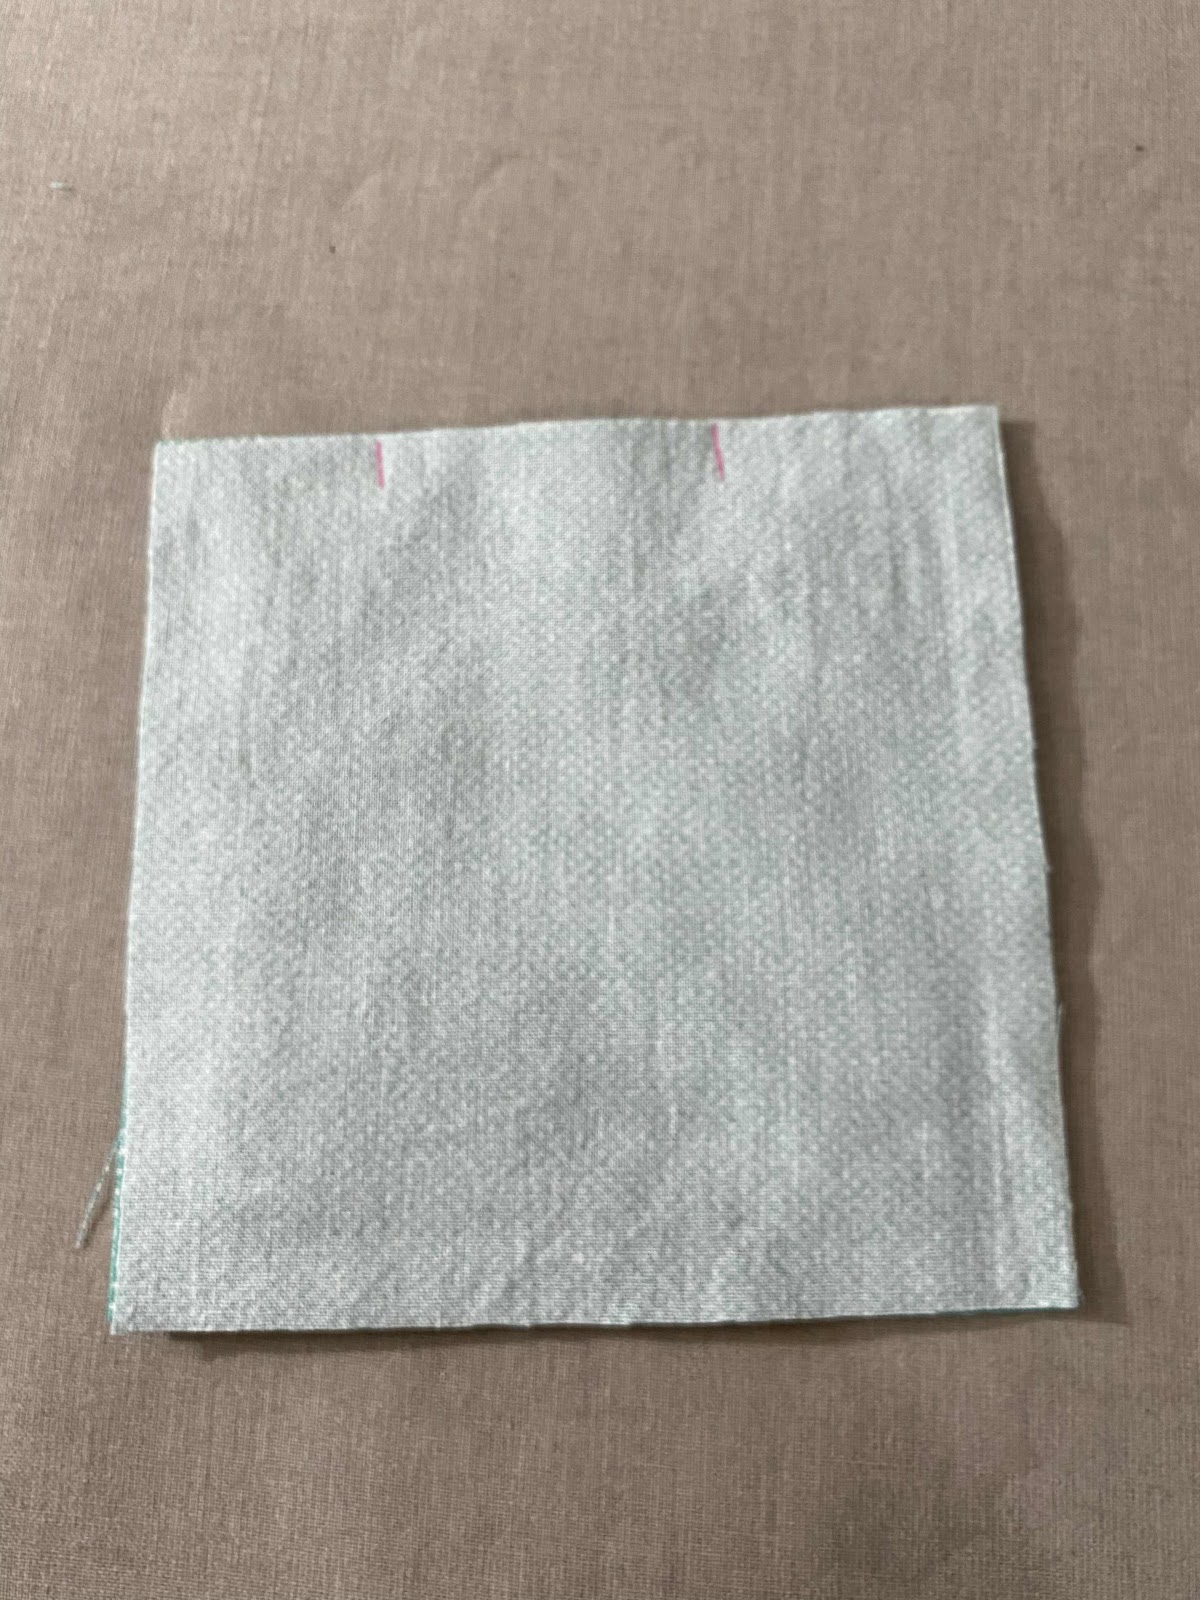
Mark where the opening is. 


Sew 1/4 inch seams around, just leave the opening.


Cut the corners.


Flip it around and use a tool to push out the corners. 


After ironing go back to the sewing machine. 


Sew around the edges. This keeps it nice and closes up the opening. 


The fabric coasters are easy to make. 
I’ve made several sets of coasters 

My youngest daughters are twins who love Nightmare Before Christmas. I had some left over material from a project, so I made them each a coaster. 


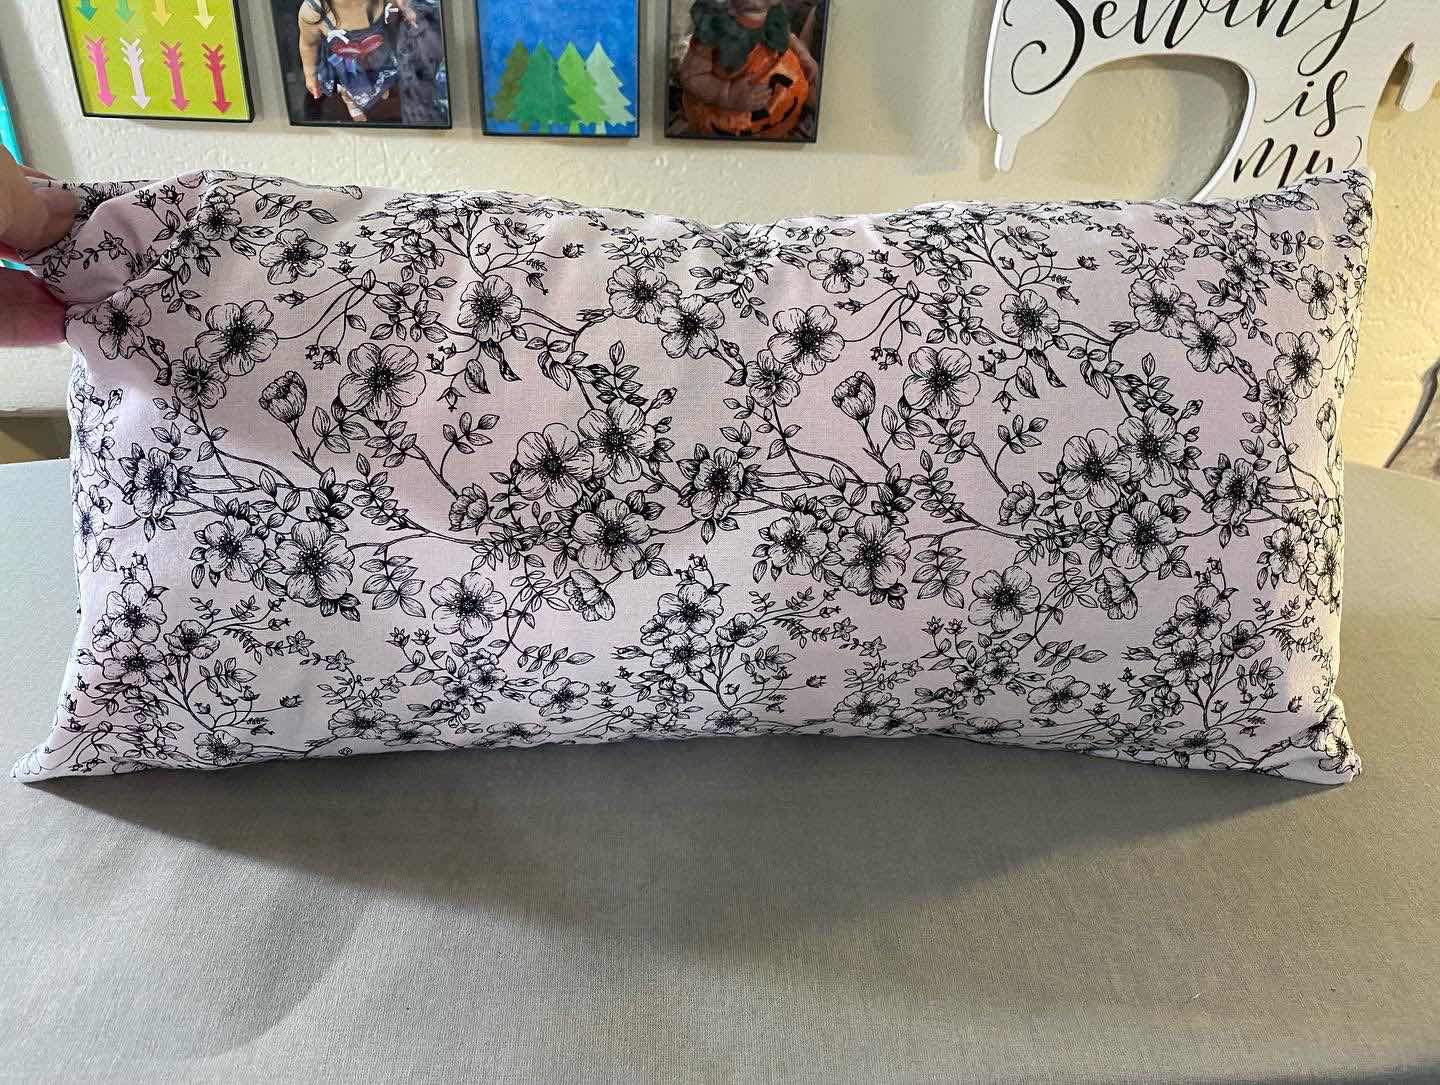
Black and white floral pillow covers

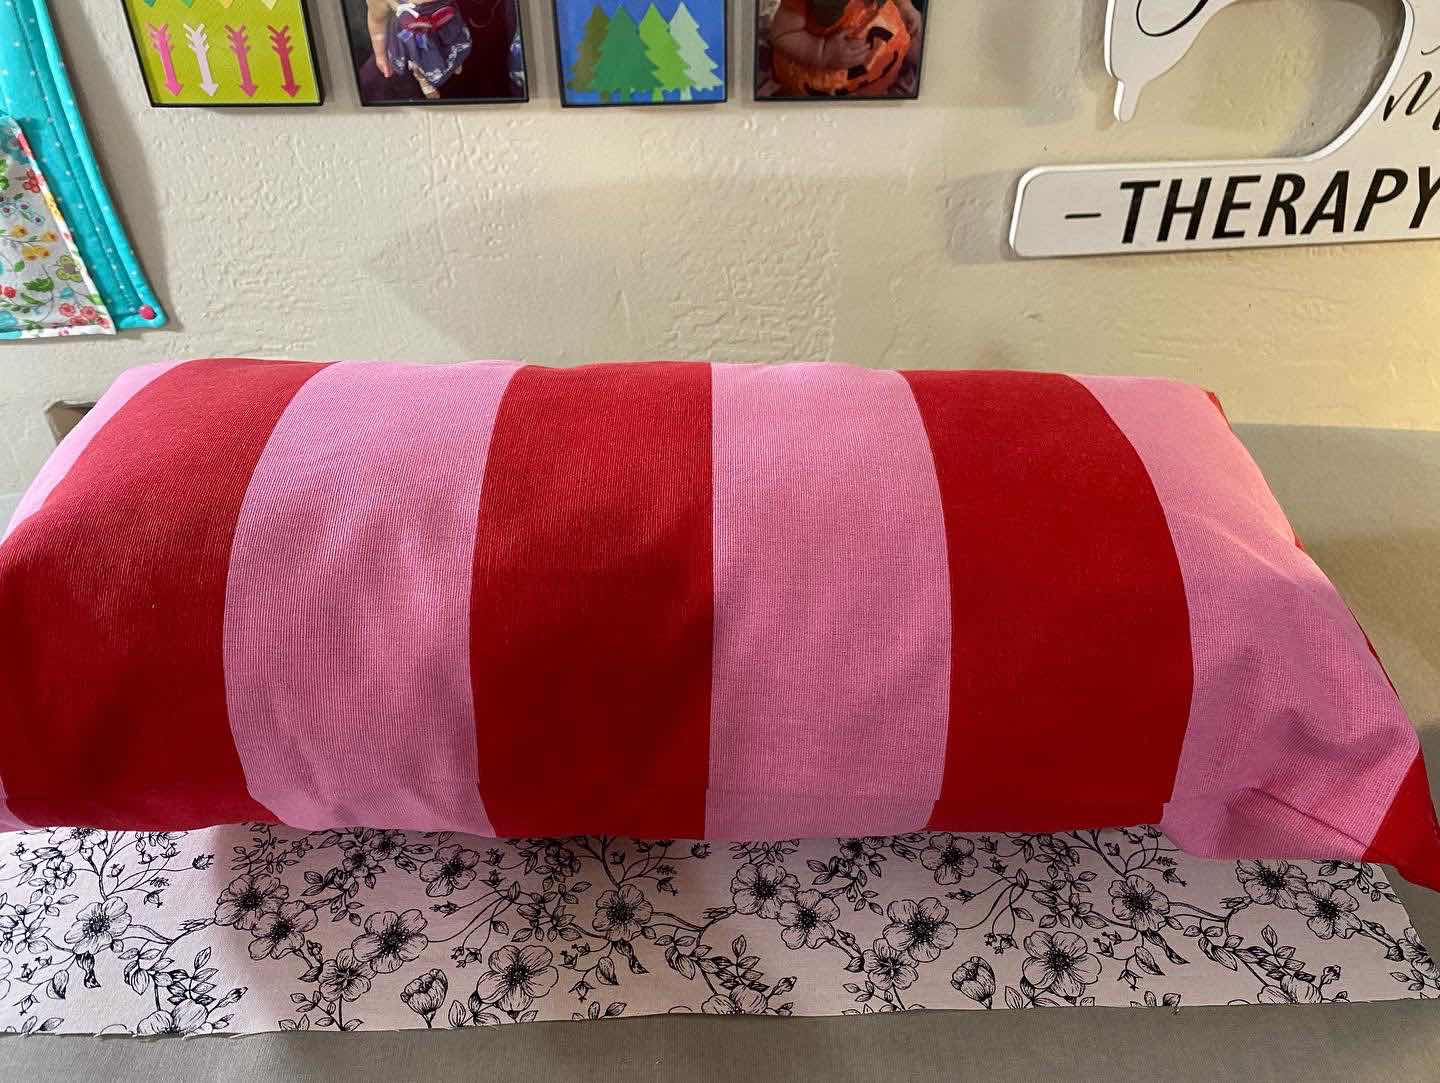
I made pillow covers for these 12x23 inch pillows from IKEA. The pillows are pink and red striped and meant to be as is. I like putting covers on them to protect them. 

I chose this fabric with the hope you could faintly make out the colors. I can see faint red stripes. It’s harder through the camera but in person you can see them. It’s faint enough that if you didn’t know they were red and pink stripes underneath you wouldn’t notice. 


This is a fun addition to my many pillows. I love pillows and they get used in our house. 


Months ago I bought this fabric at Hobby Lobby. For weeks every time I went to look at fabric I would get this thought in my head to buy this particular fabric. I would always think to myself, “what would I do with it?” Finally one day I added a couple yards with some other fabric I was buying. 


March 11, 2020

Greenery Wreath


Greenery wreath with the polka dot ribbon. I bought the wreath at Hobby Lobby. You can use any ribbon to hang the wreath. 

October 7, 2019

Apron


Yes! I made my first apron. 

I love aprons and use them all the time for cooking, baking, cleaning and painting crafts. 

I studied an apron I had in my pantry. 
I folded it in half and measured it. 
I drew an apron out on poster board, a tad larger than the original. 
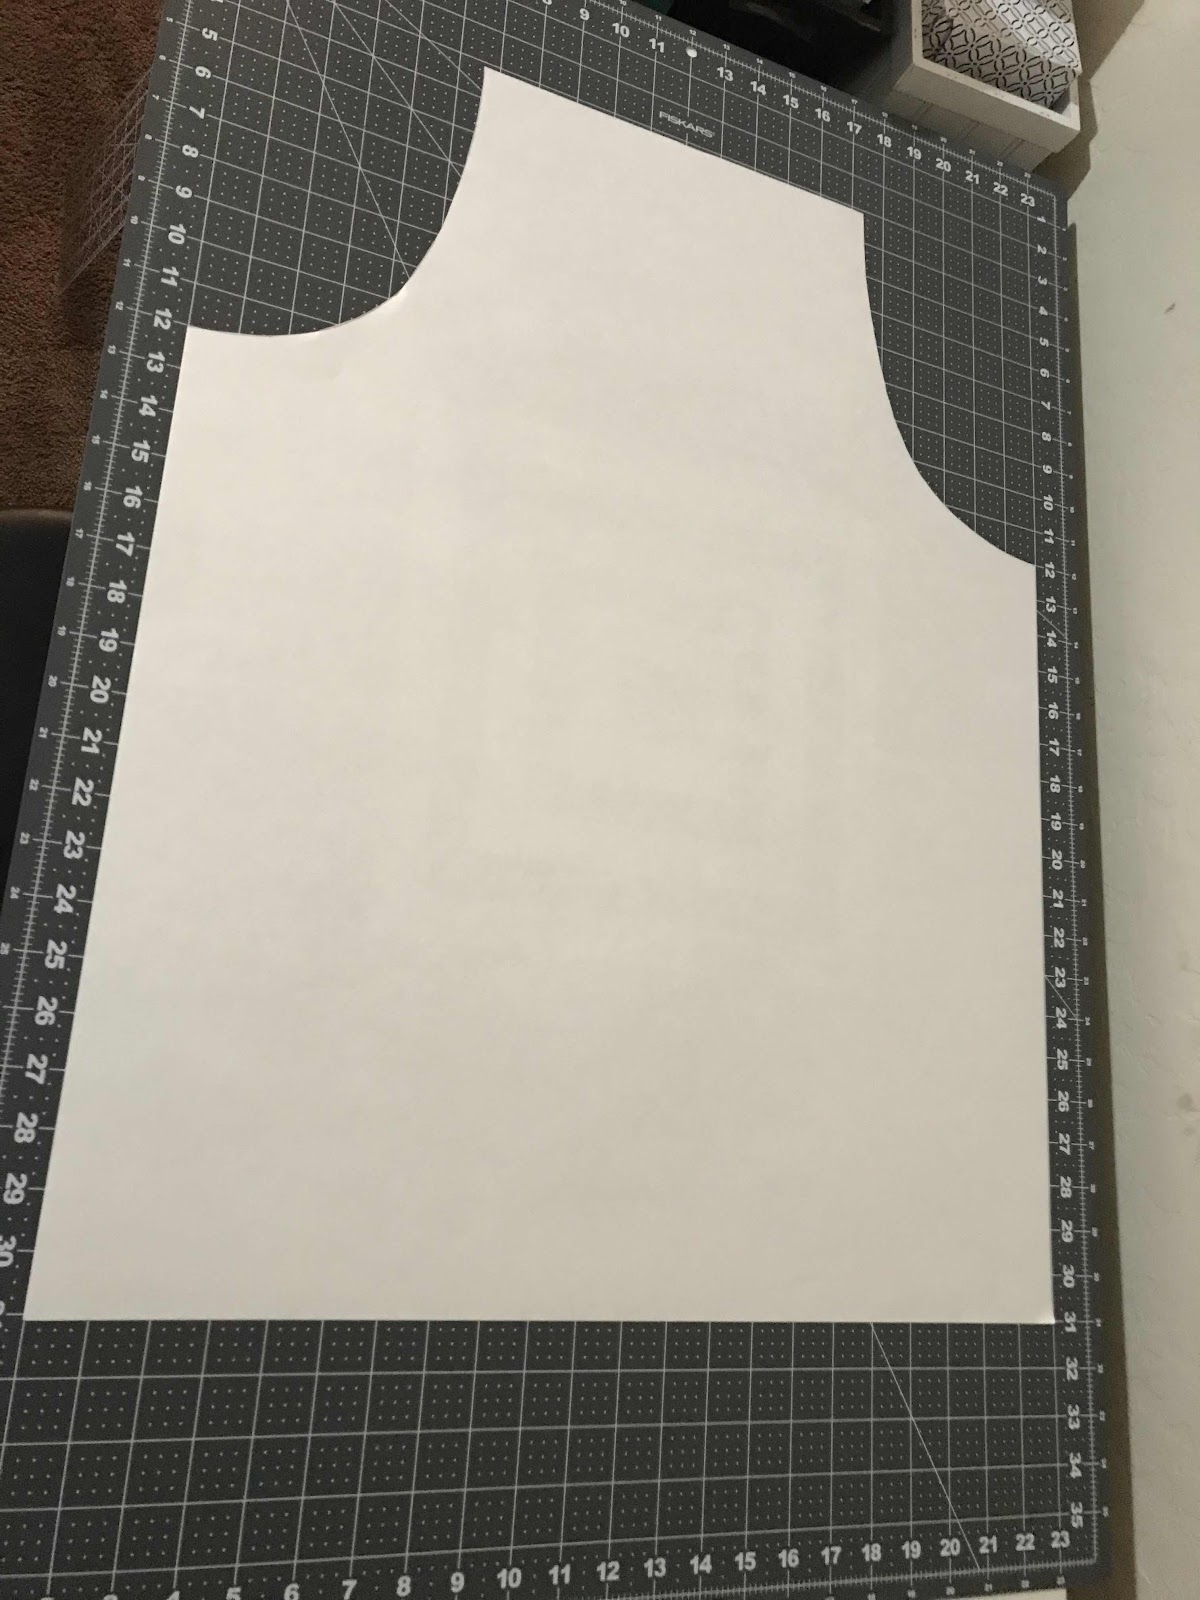
Here is my poster board cut out. 


I payed the poster board on top of my ironed fabric. I traced it with my vanishing ink pens. 


Next I line my ruler up with the ink marks. 
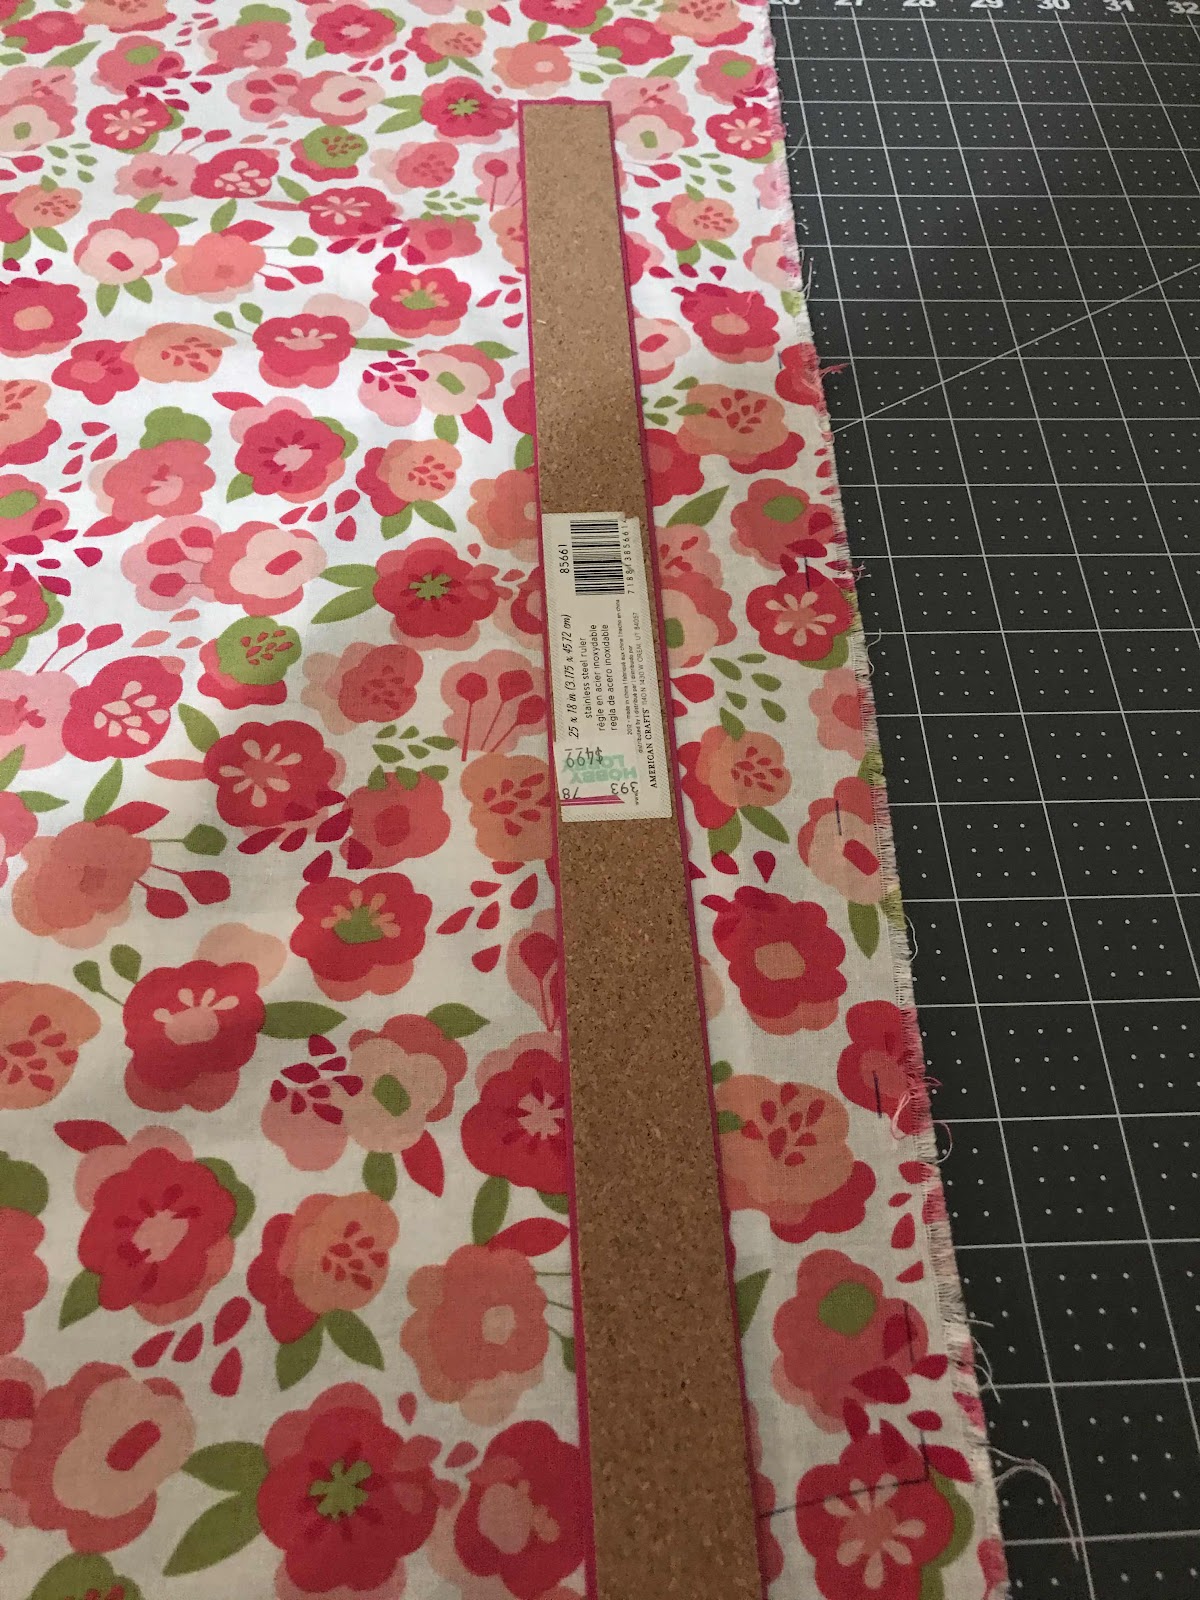

You can see the ink marks. This ruler works so good with the cork backing. It doesn’t slide as easily as quilting rulers. I just wish it was longer. 

Here is a picture with just the ink marks.
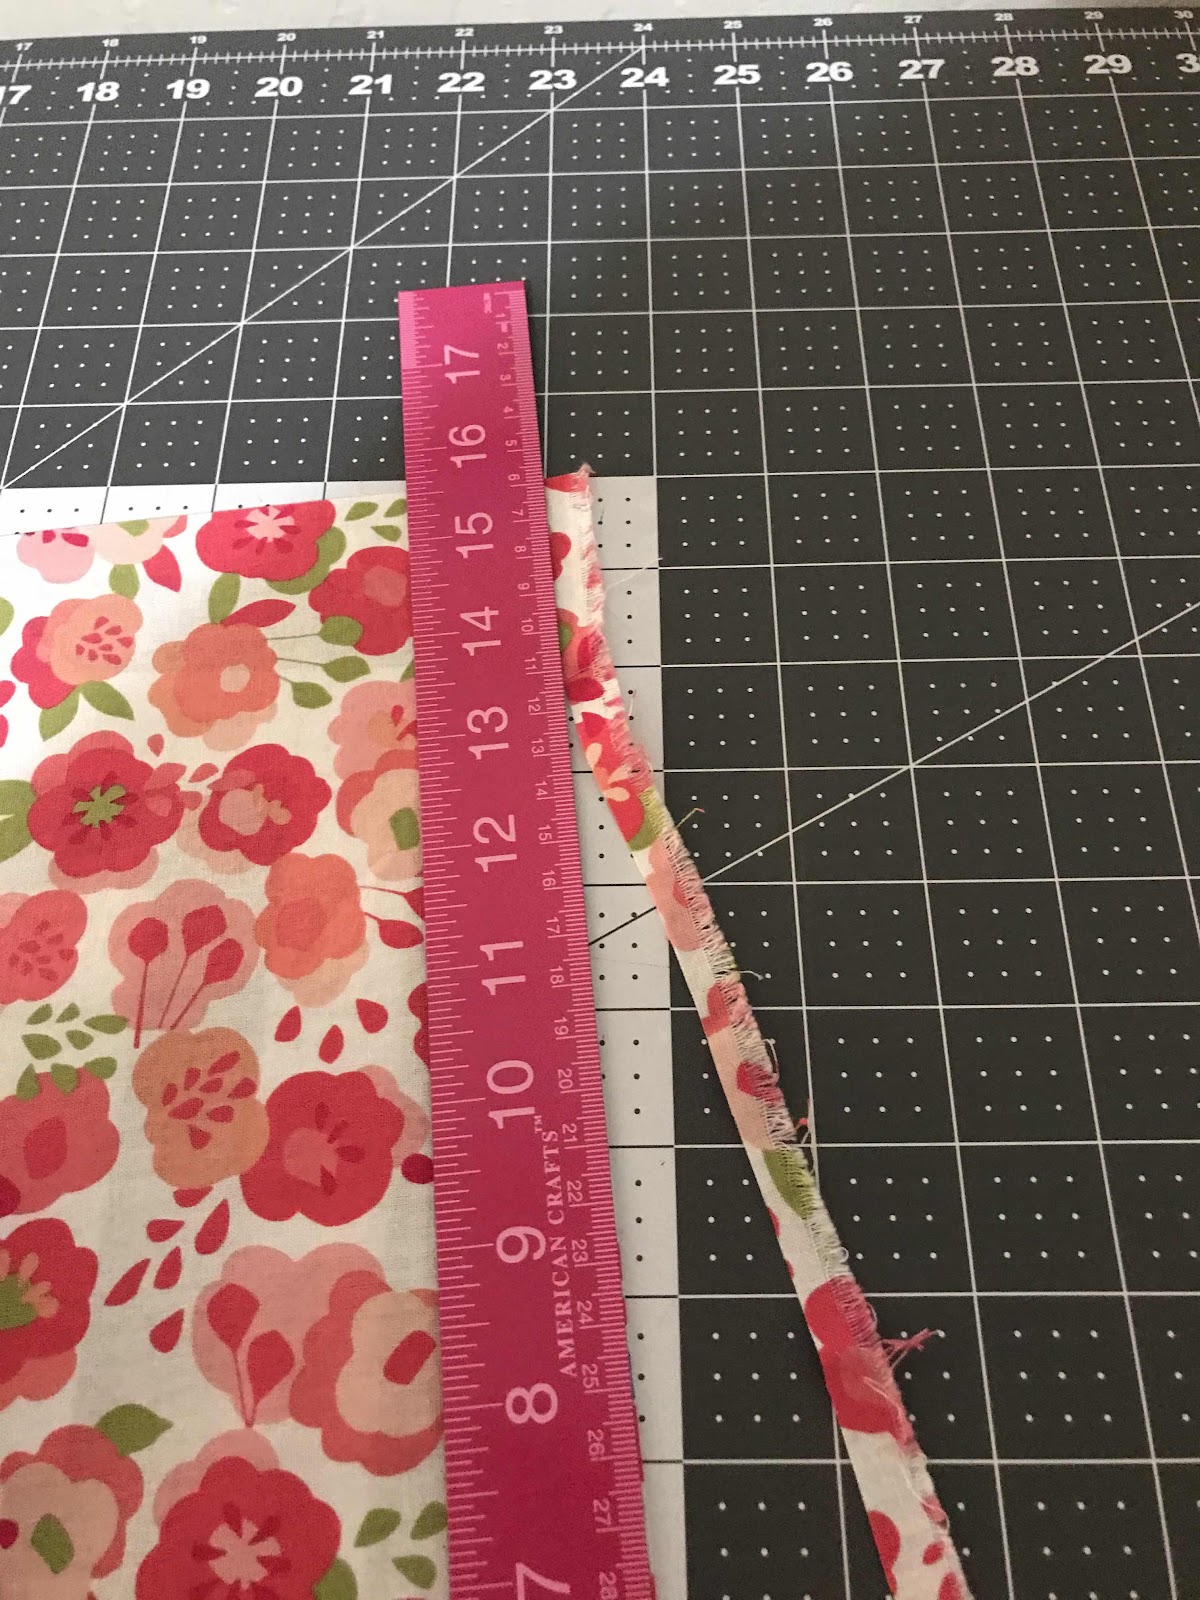

Using my rotary cutter I cut the fabric. See why I want a longer ruler. (I do have a 24 in sewing ruler and a sewing yardstick that I do use a lot, yet I prefer my pink ruler because of the cork back.)
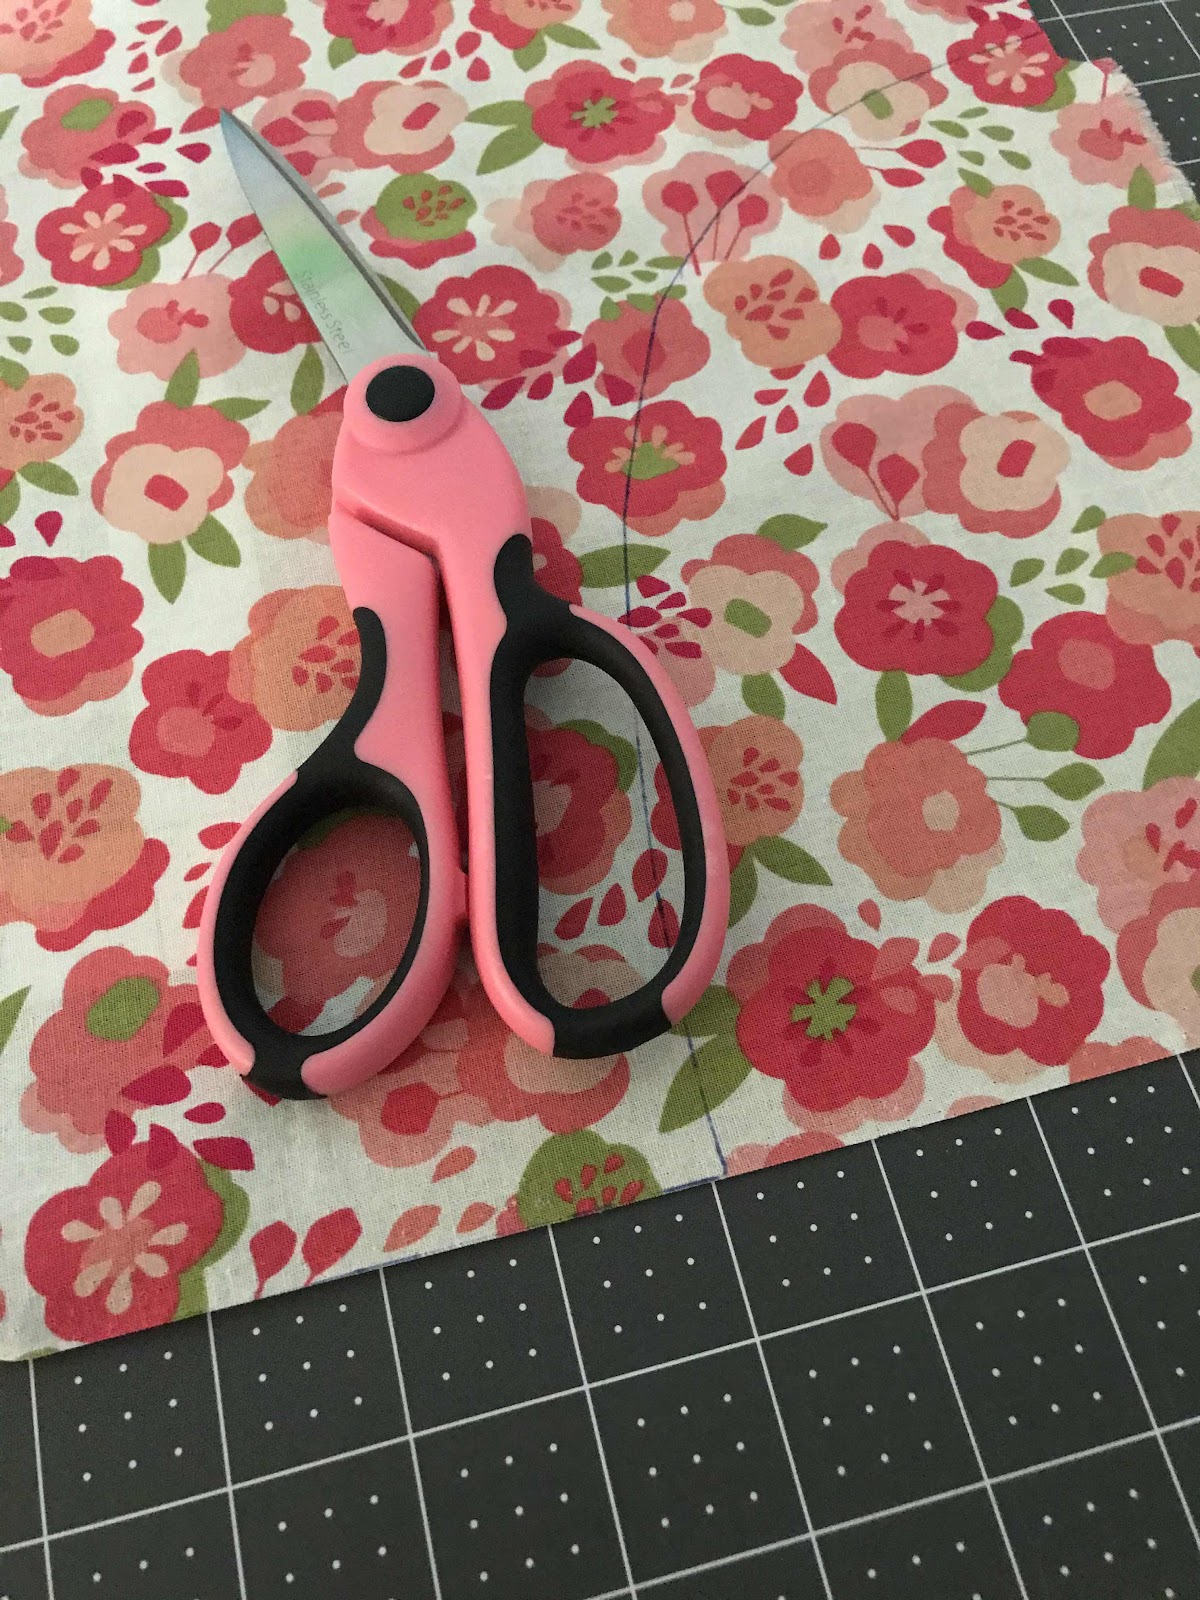

Me sewing scissors I used to cut the rounded edges.
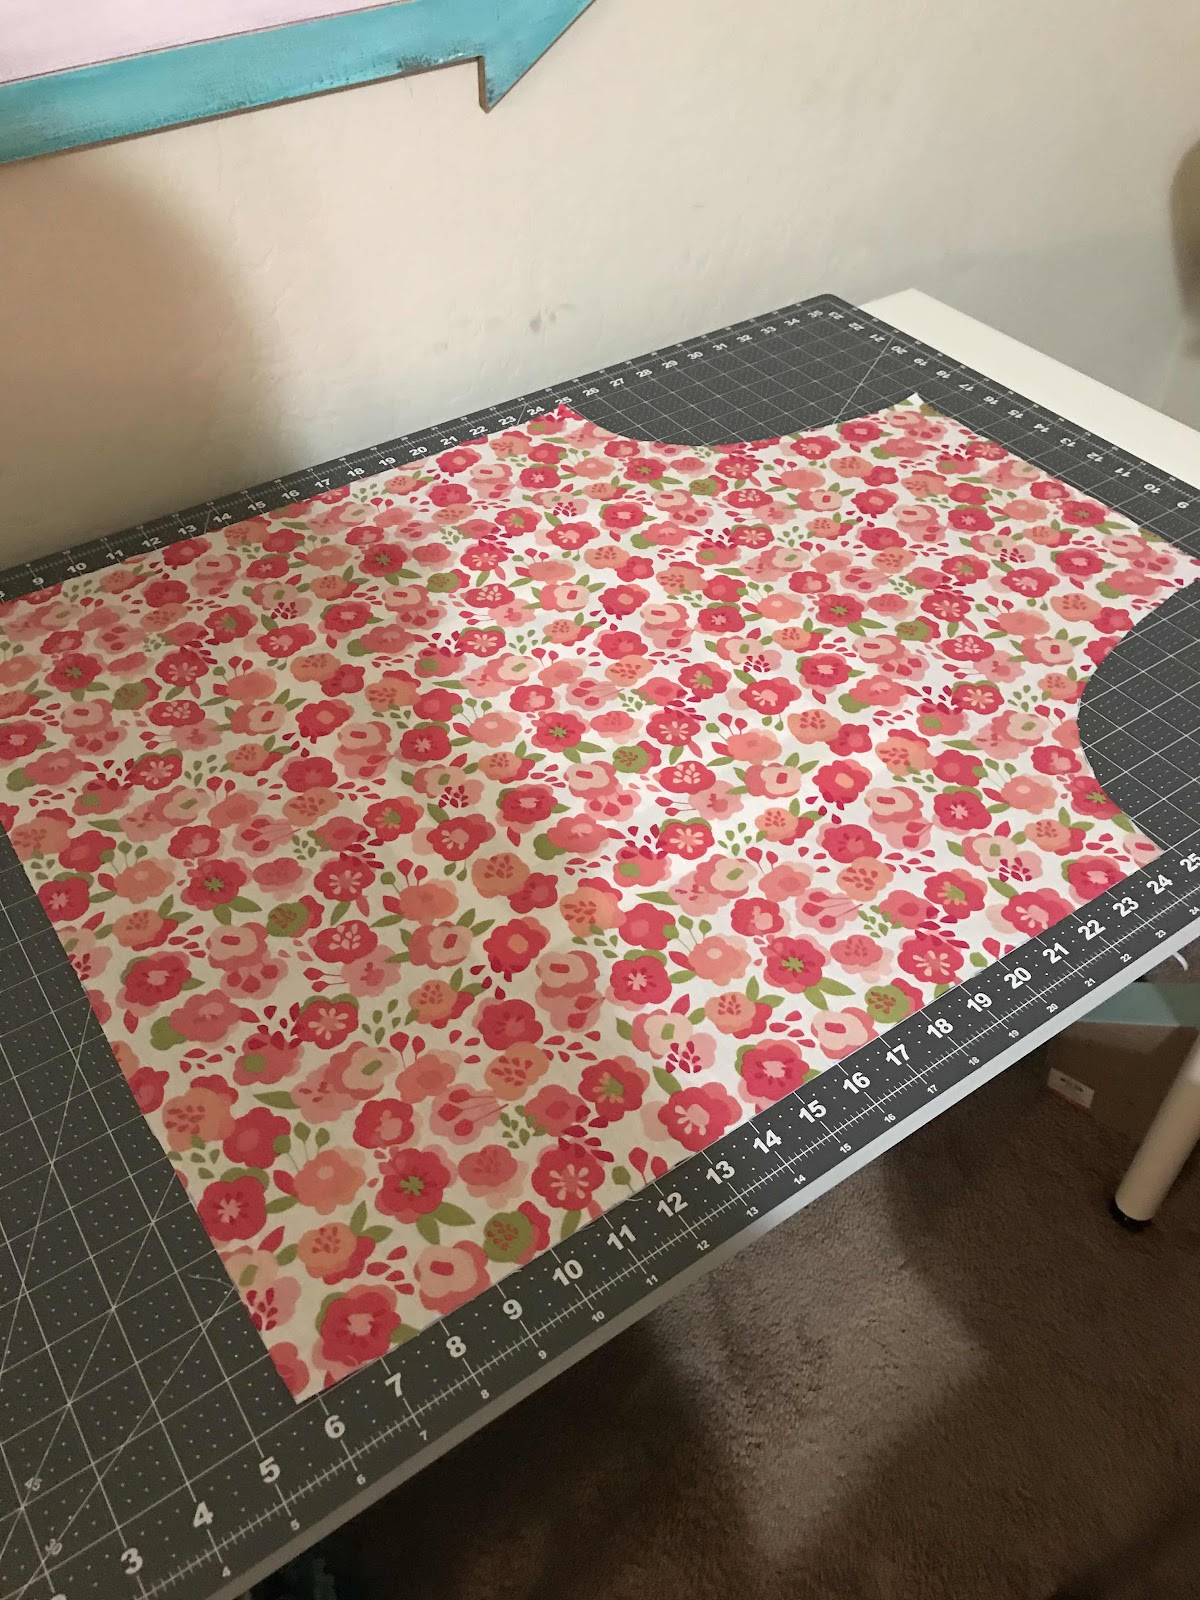

I used my iron to get rid of the ink markings. Then laid it on my cutting mat to make sure the measurements were good.
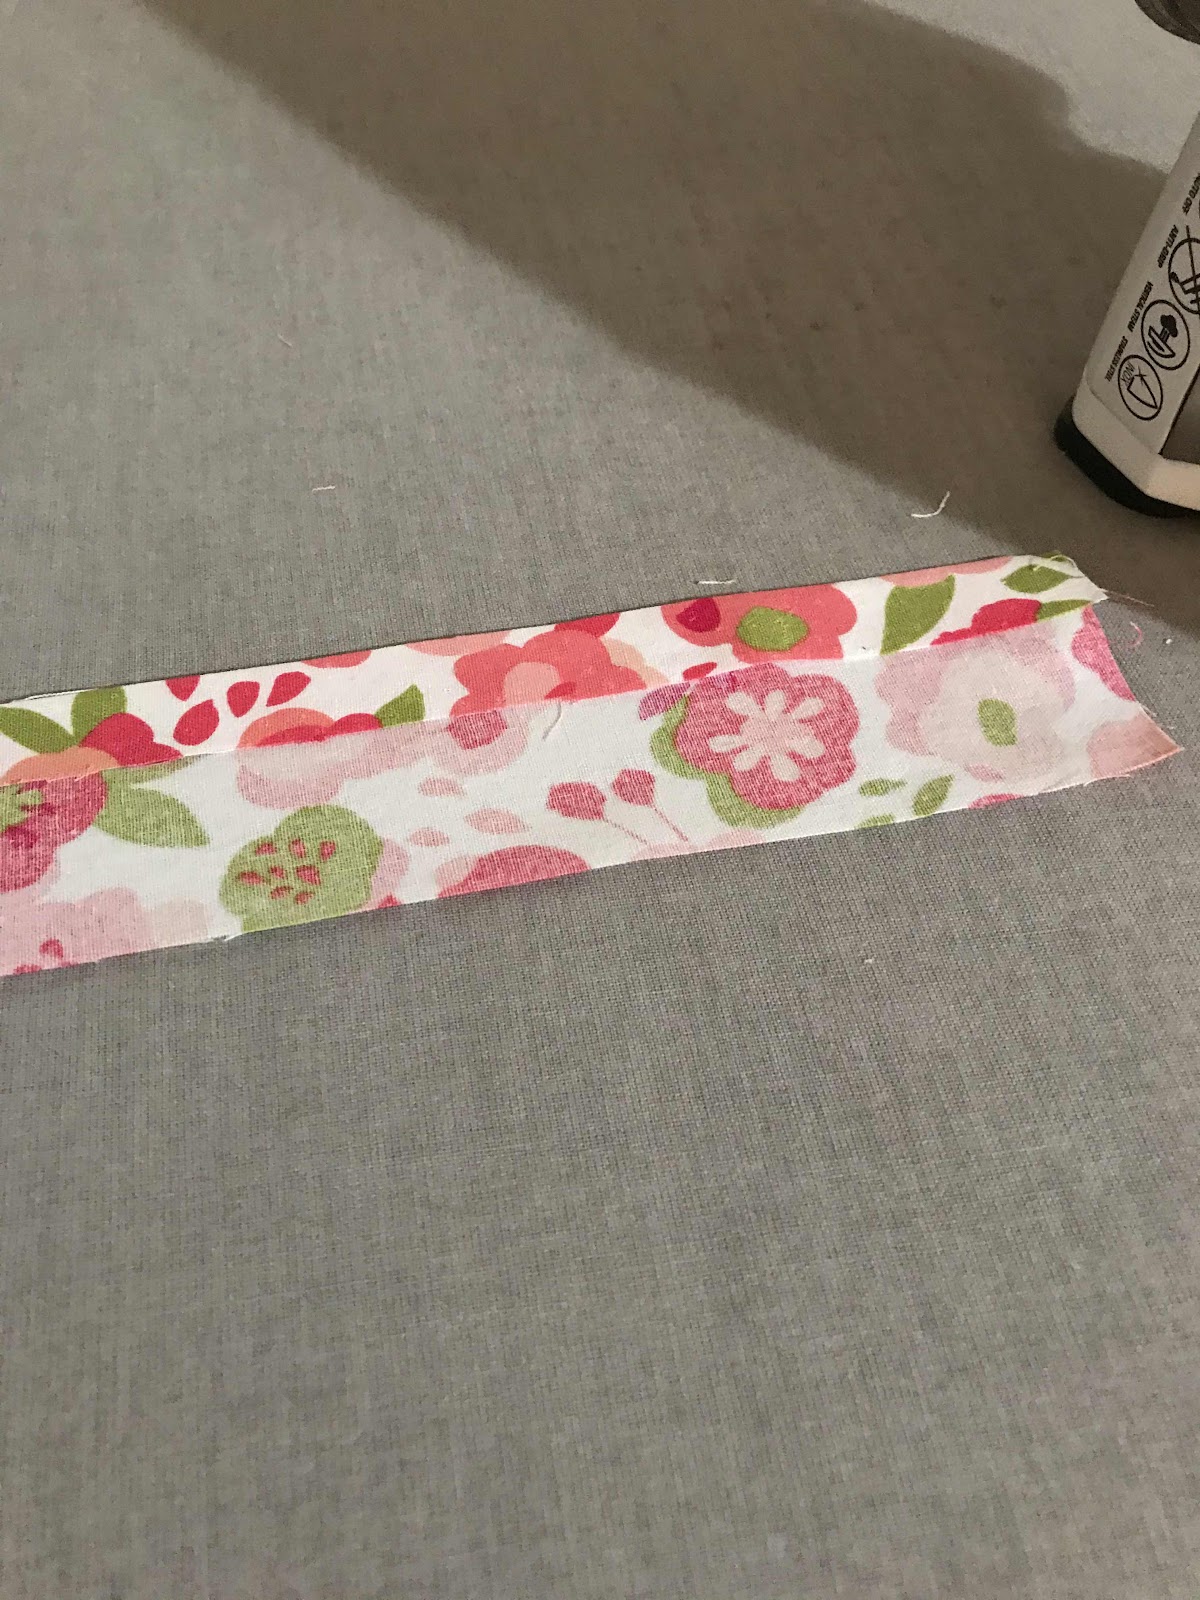

To make the neck strap and apron straps I cut fabric strips in 3 inches. I folded one side halfway and ironed.
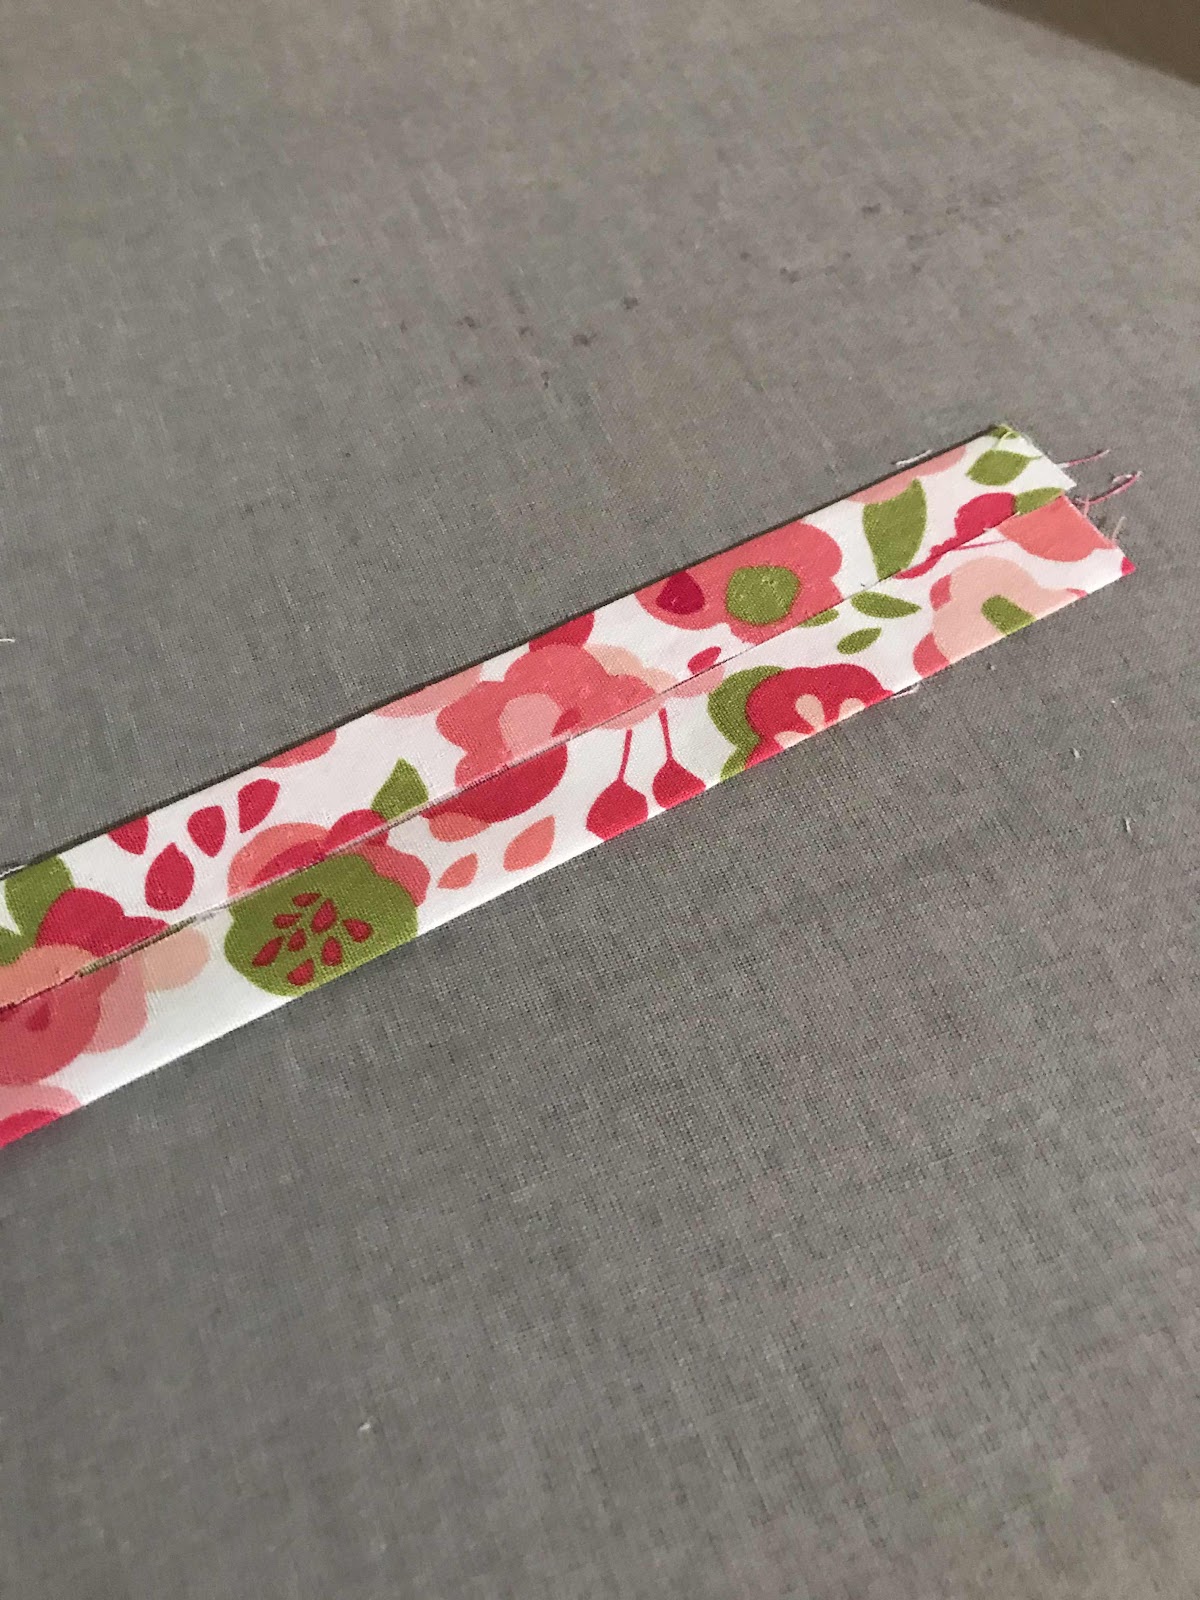

Here you see the other side folded halfway and ironed.
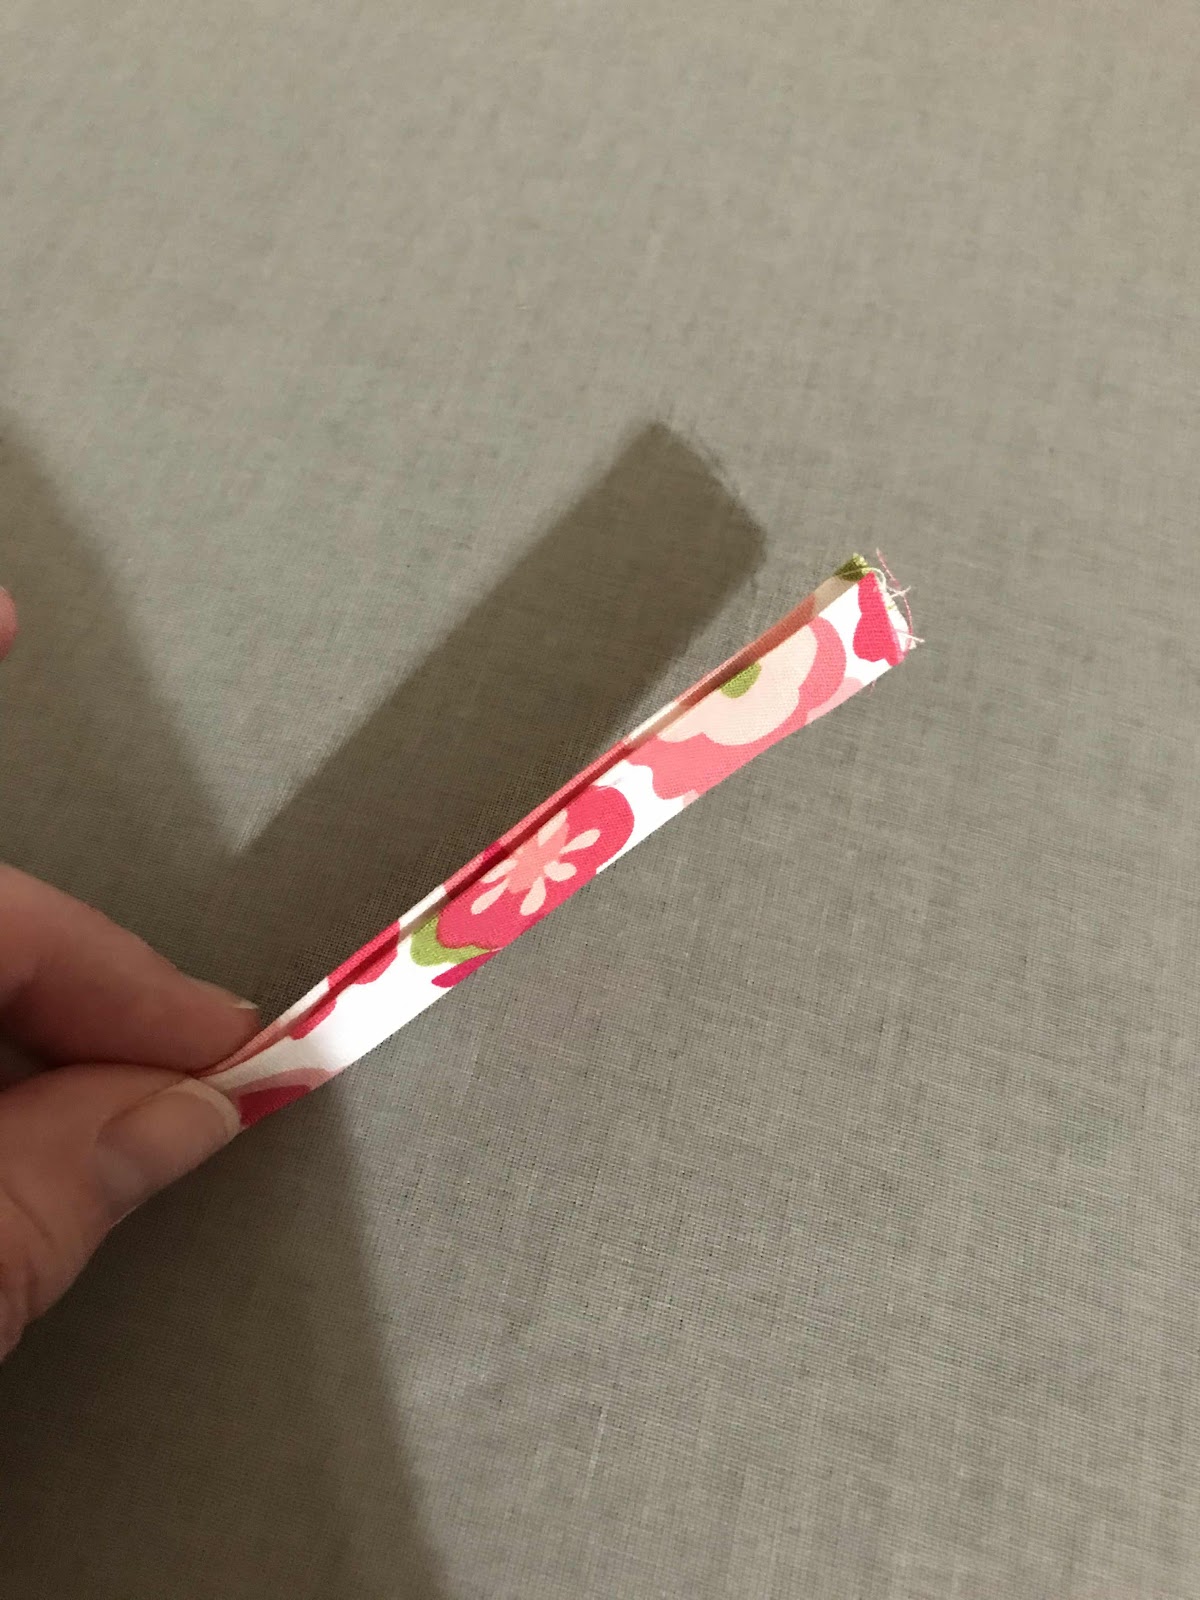

I folded the two folded sides and ironed it.
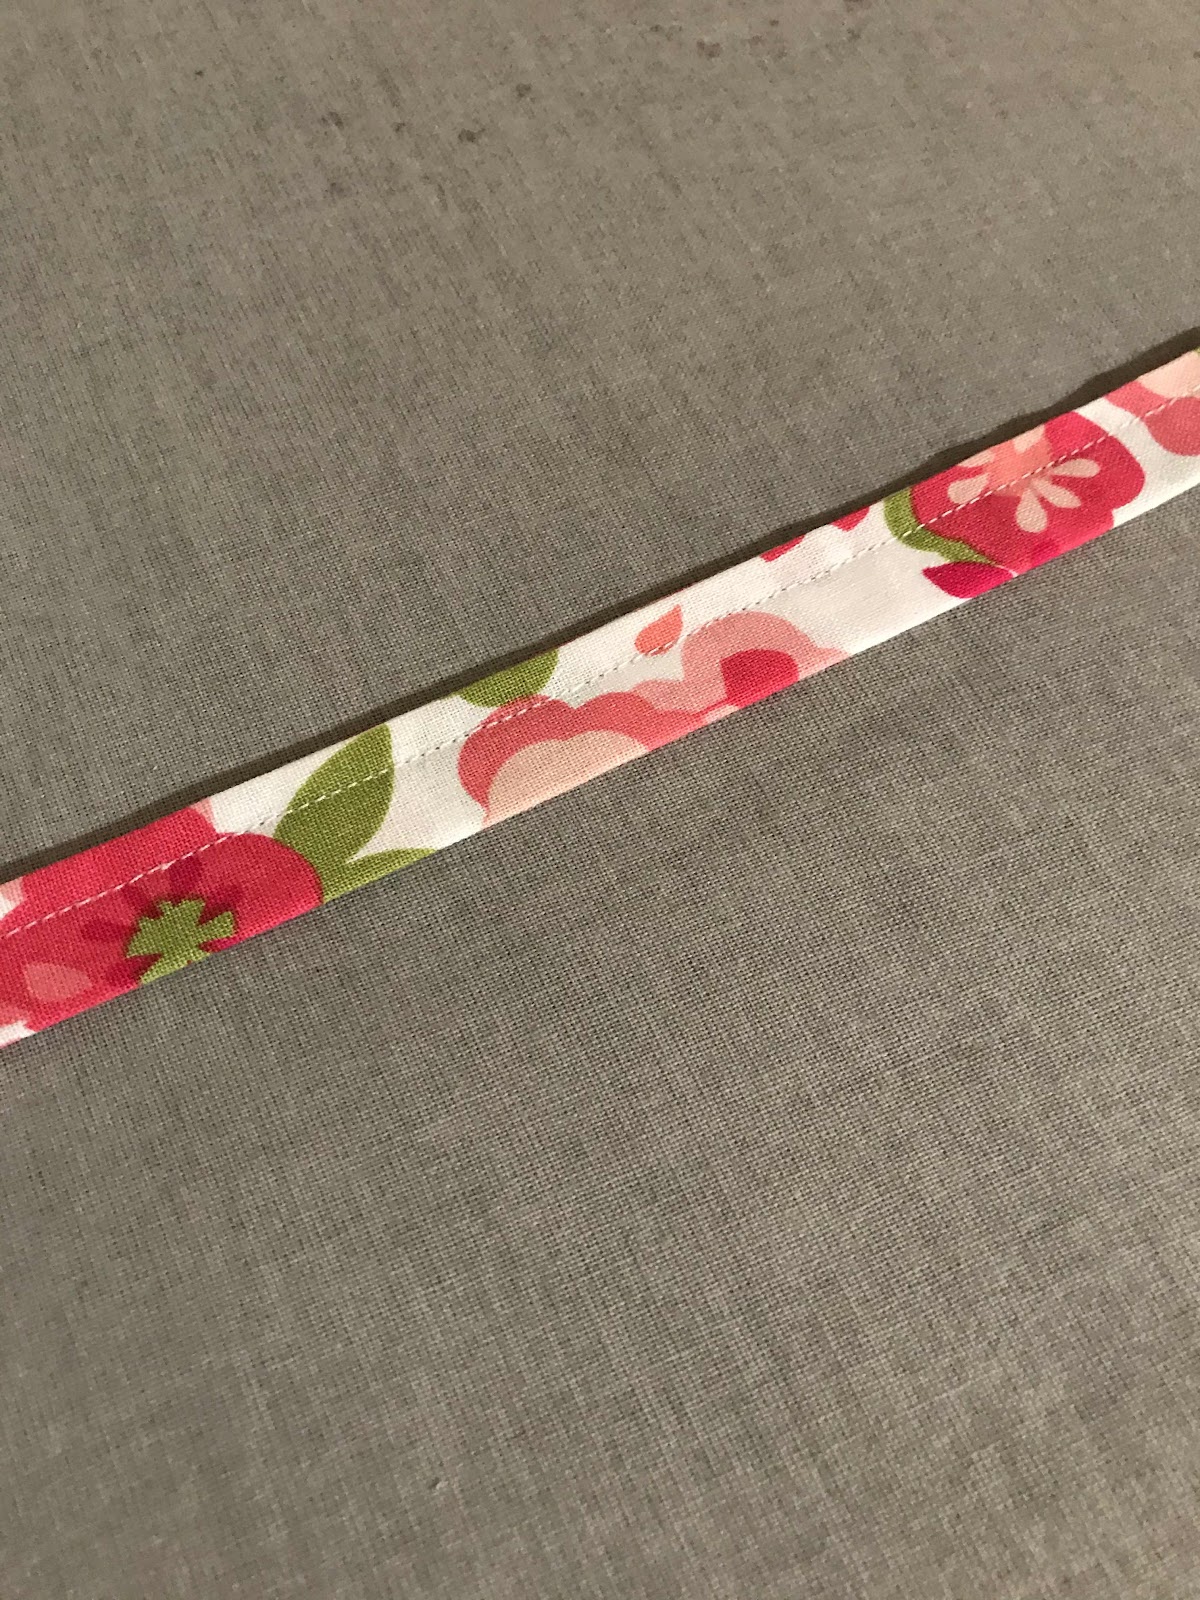

I don’t have a picture of the ends that I folded a quarter inch and sewed the ends. I then sewed the long side of the strap as you see here. 
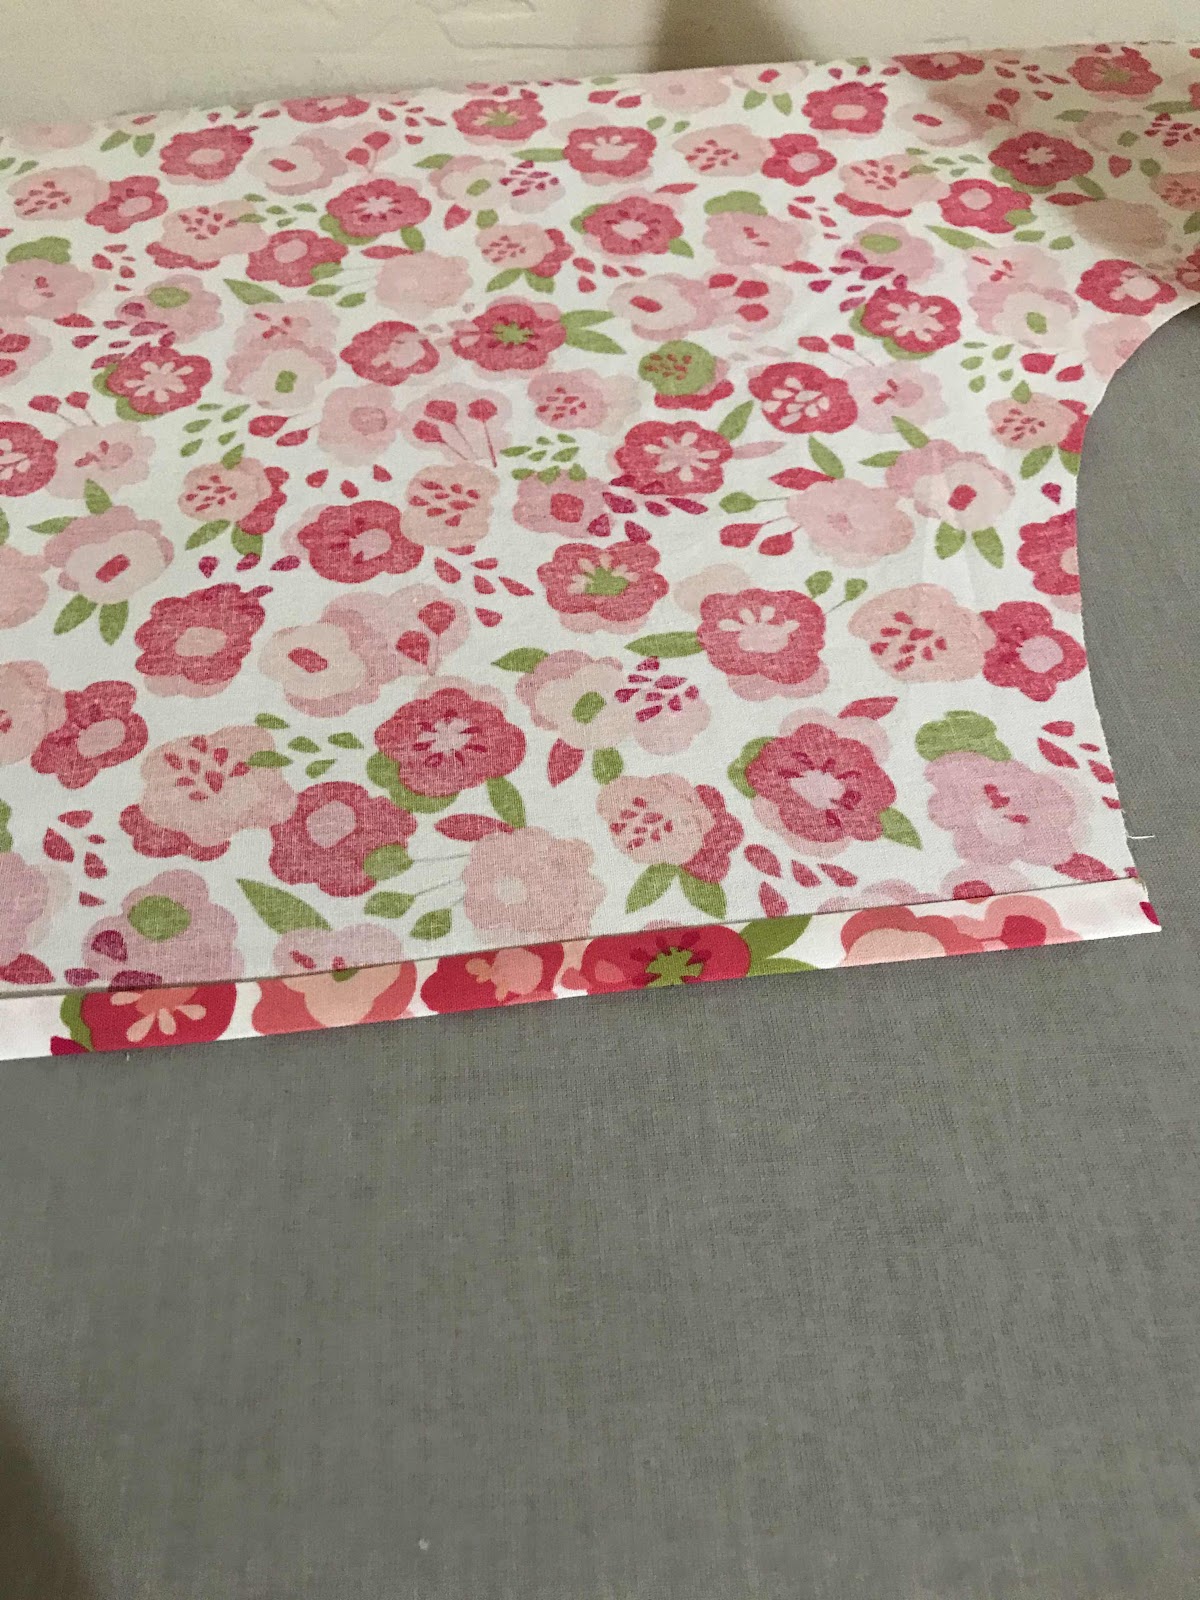

This is the top. I folded over a half inch and then again with my iron. Then I sewed the top. 
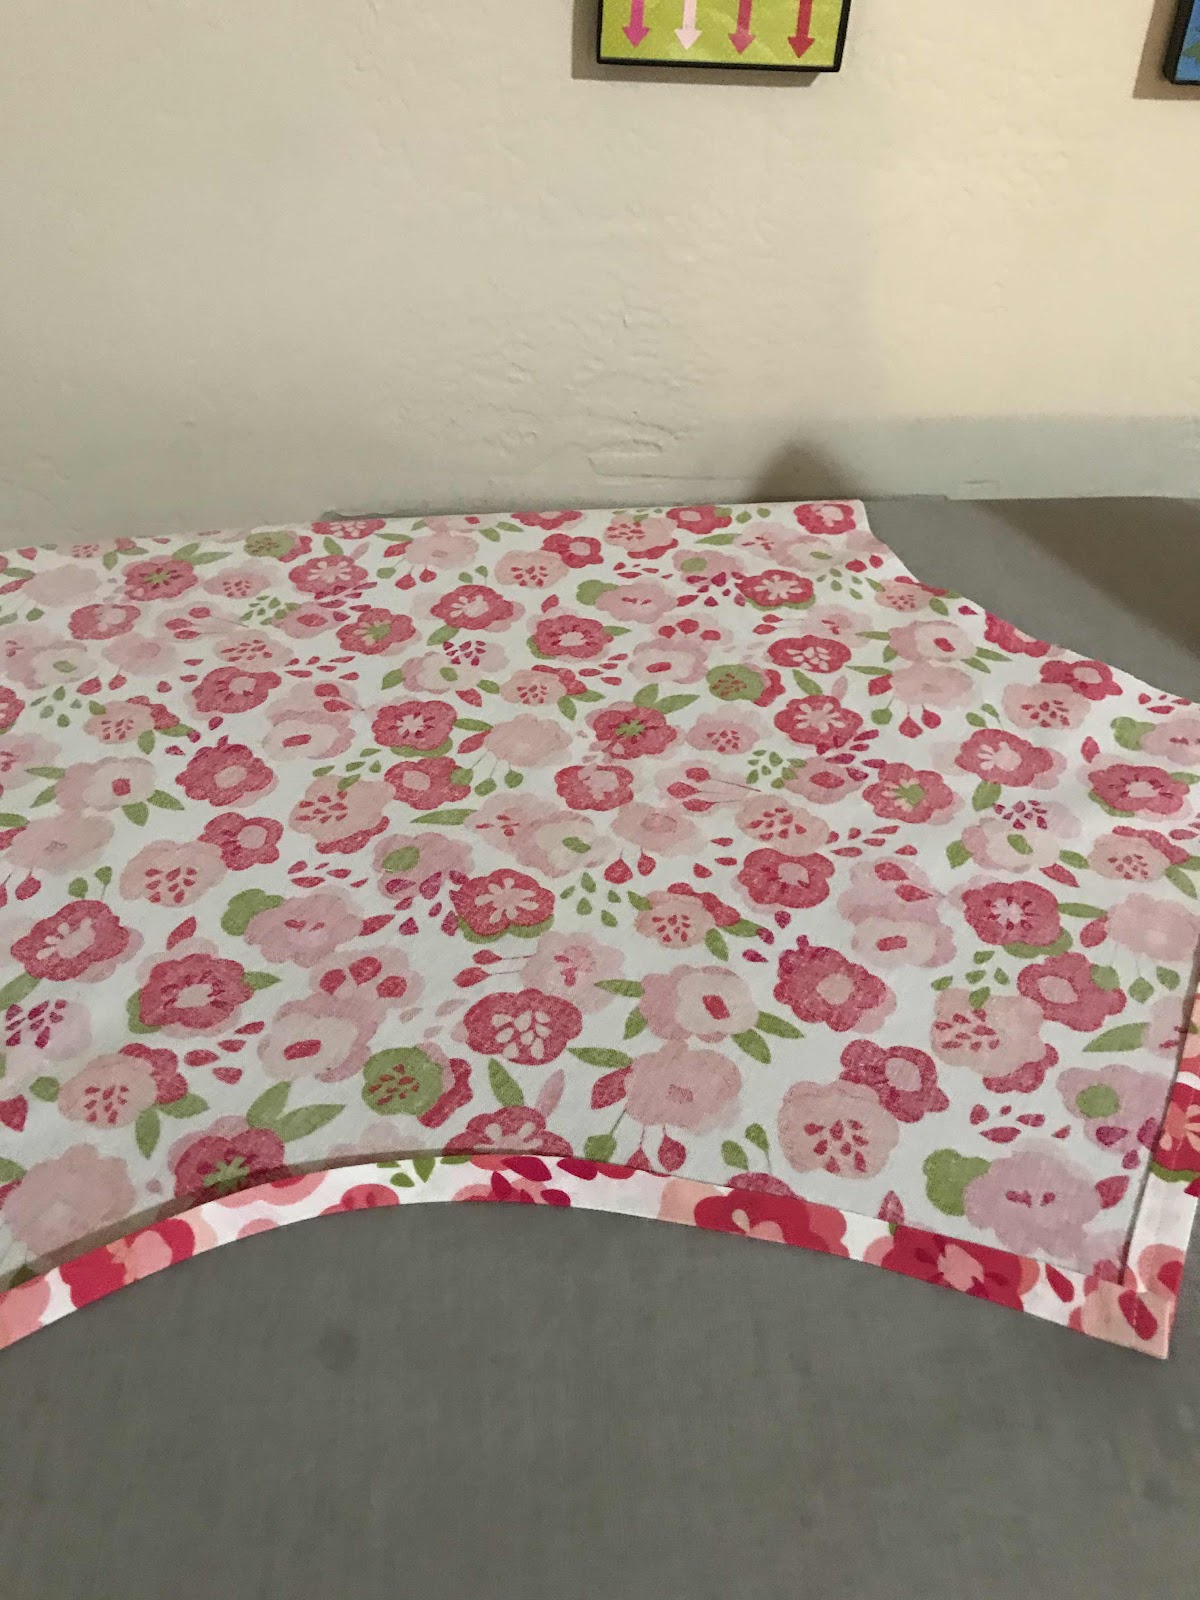

A little tricky to fold and iron a rounded edge. 


I sewed the side strap just like the apron I used as a guide. 


The neck strap the same. 
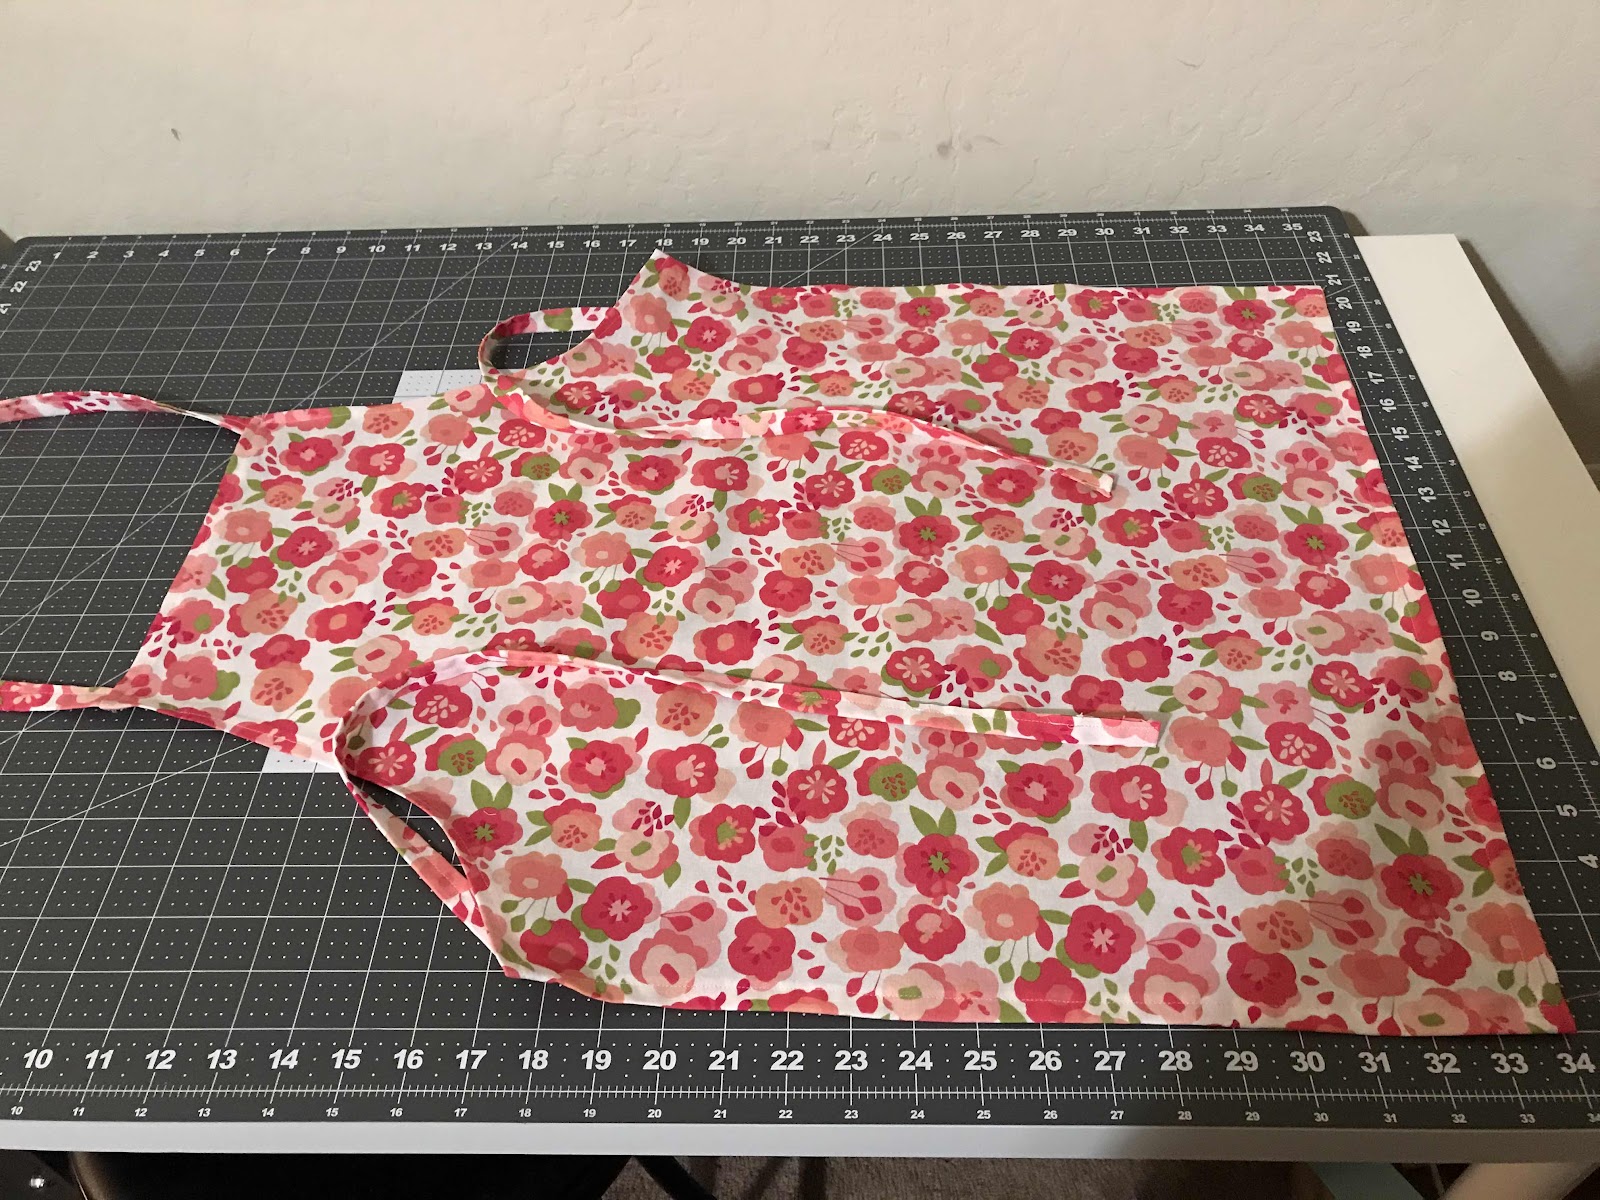

My finished apron.


The back of the apron. 


I modeled the apron but it’s not the whole apron. My husband and children were asleep so I couldn’t have someone either model it or take a picture of me.
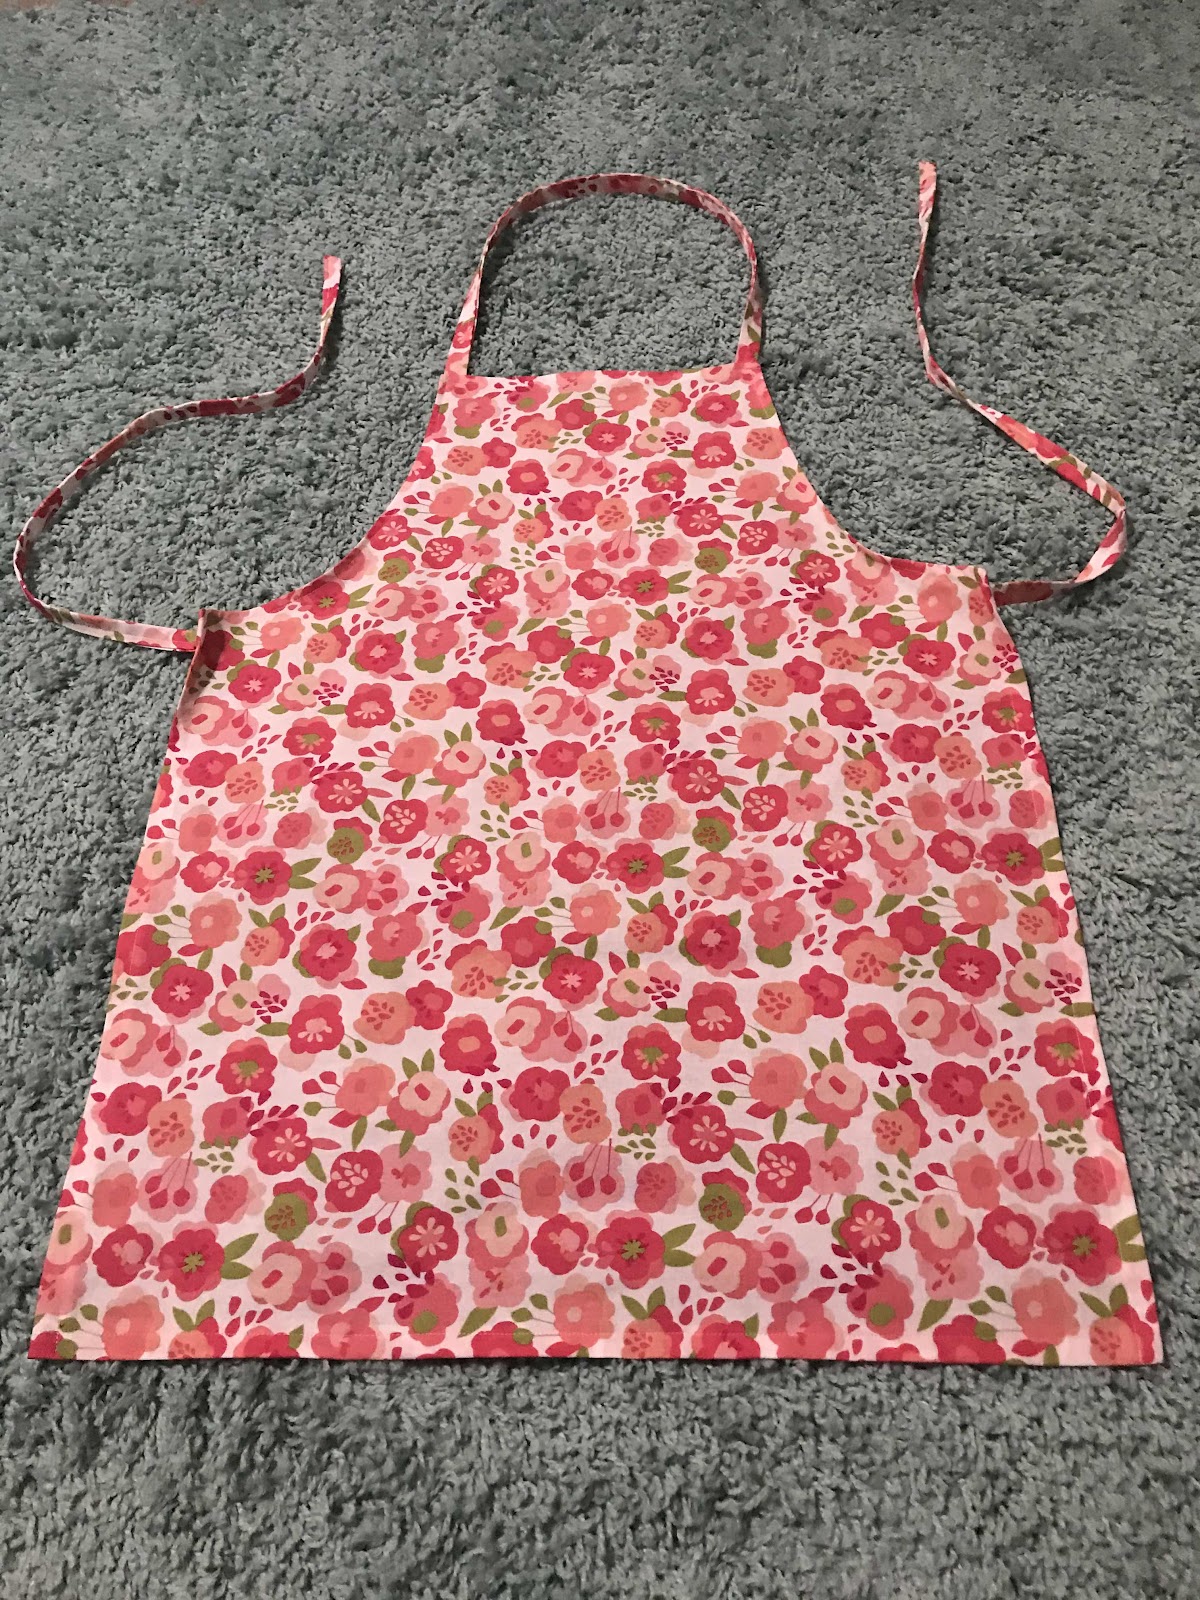

I did see the side straps like my apron guide yet I don’t like how it looks. So I did some extra stitches on both straps. You can see in the next picture.
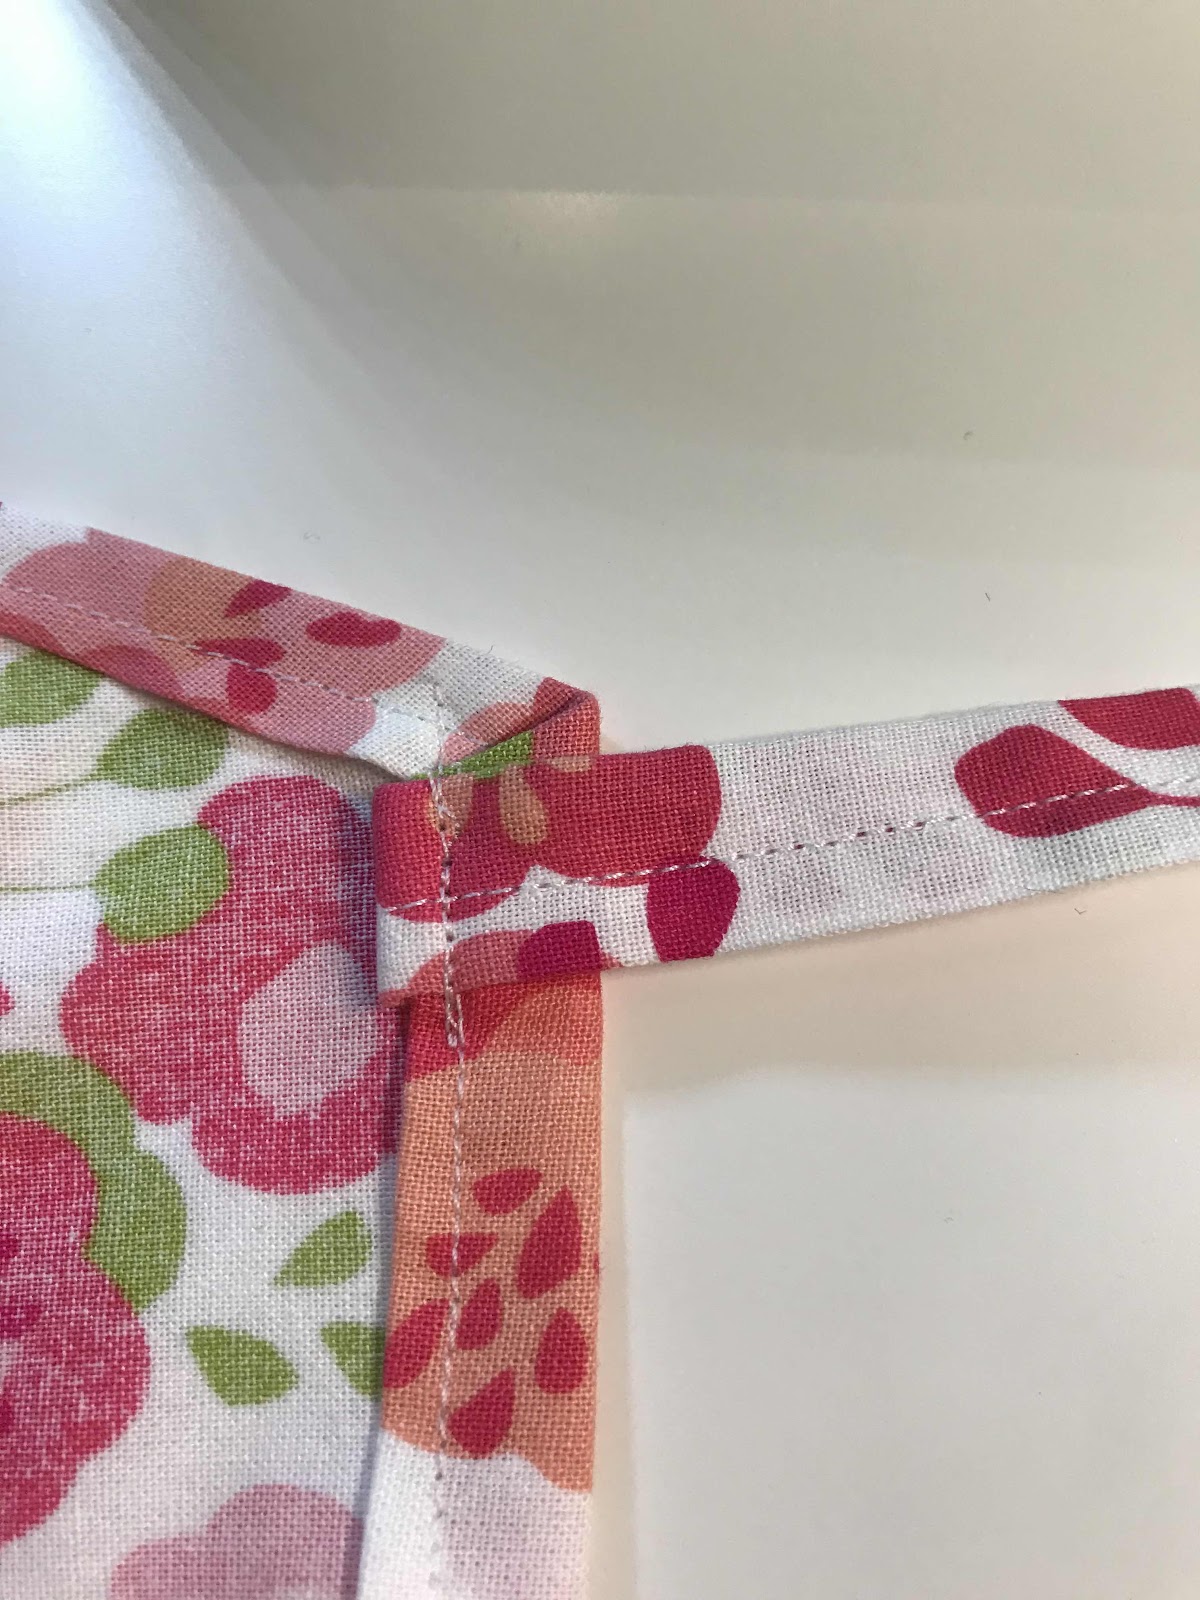

I folded over the strap and sewed the strap on both sides. 
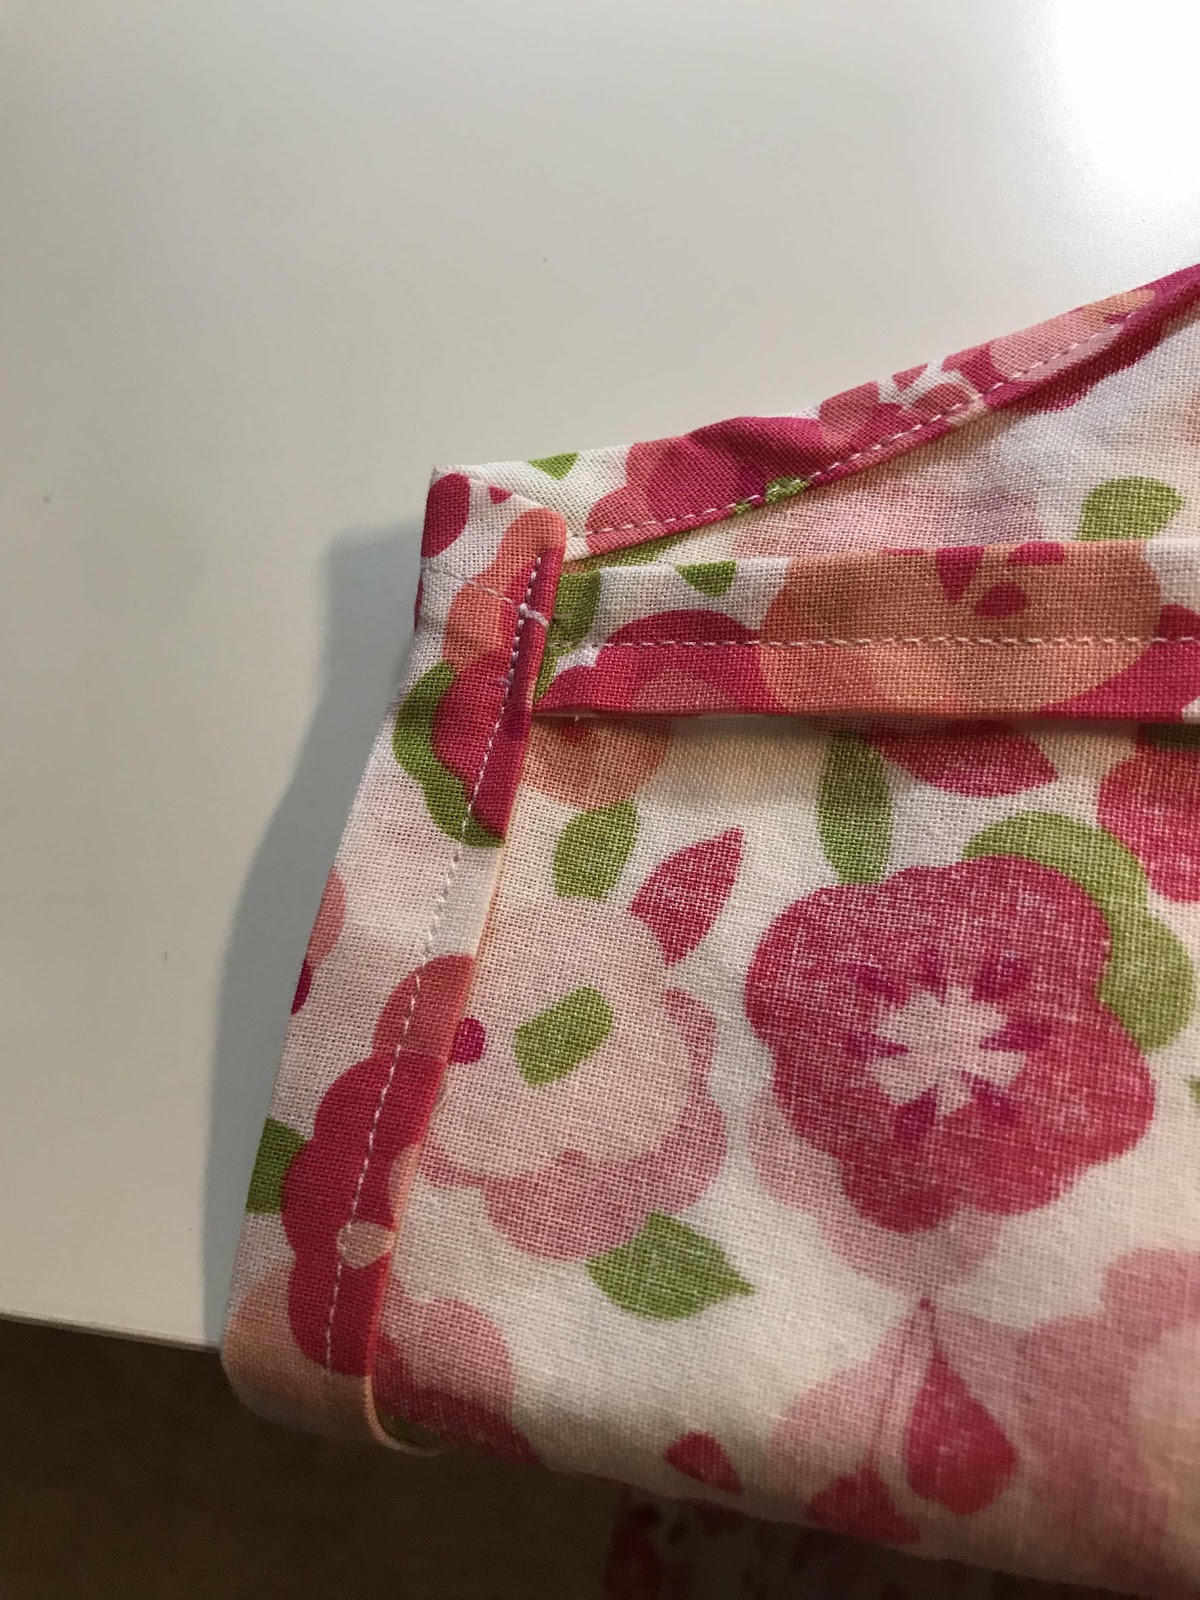

This is before doing the sewing the straps the other way. 
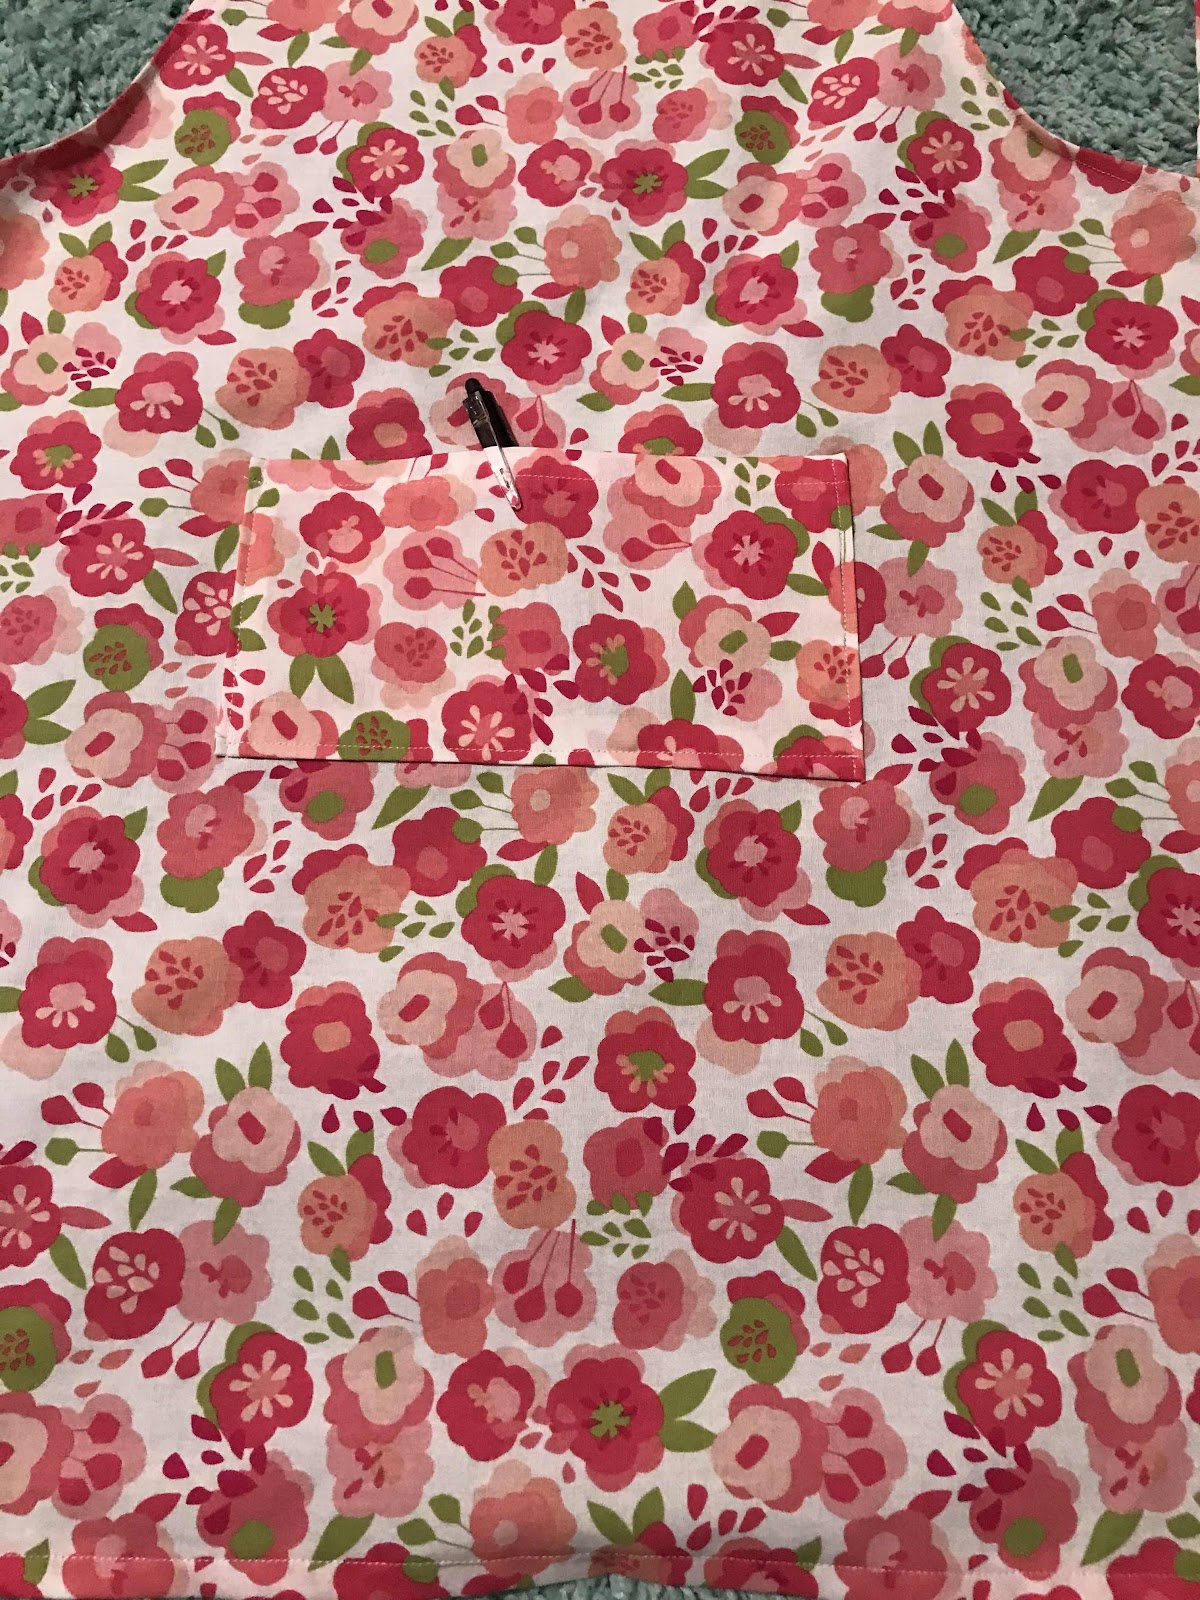

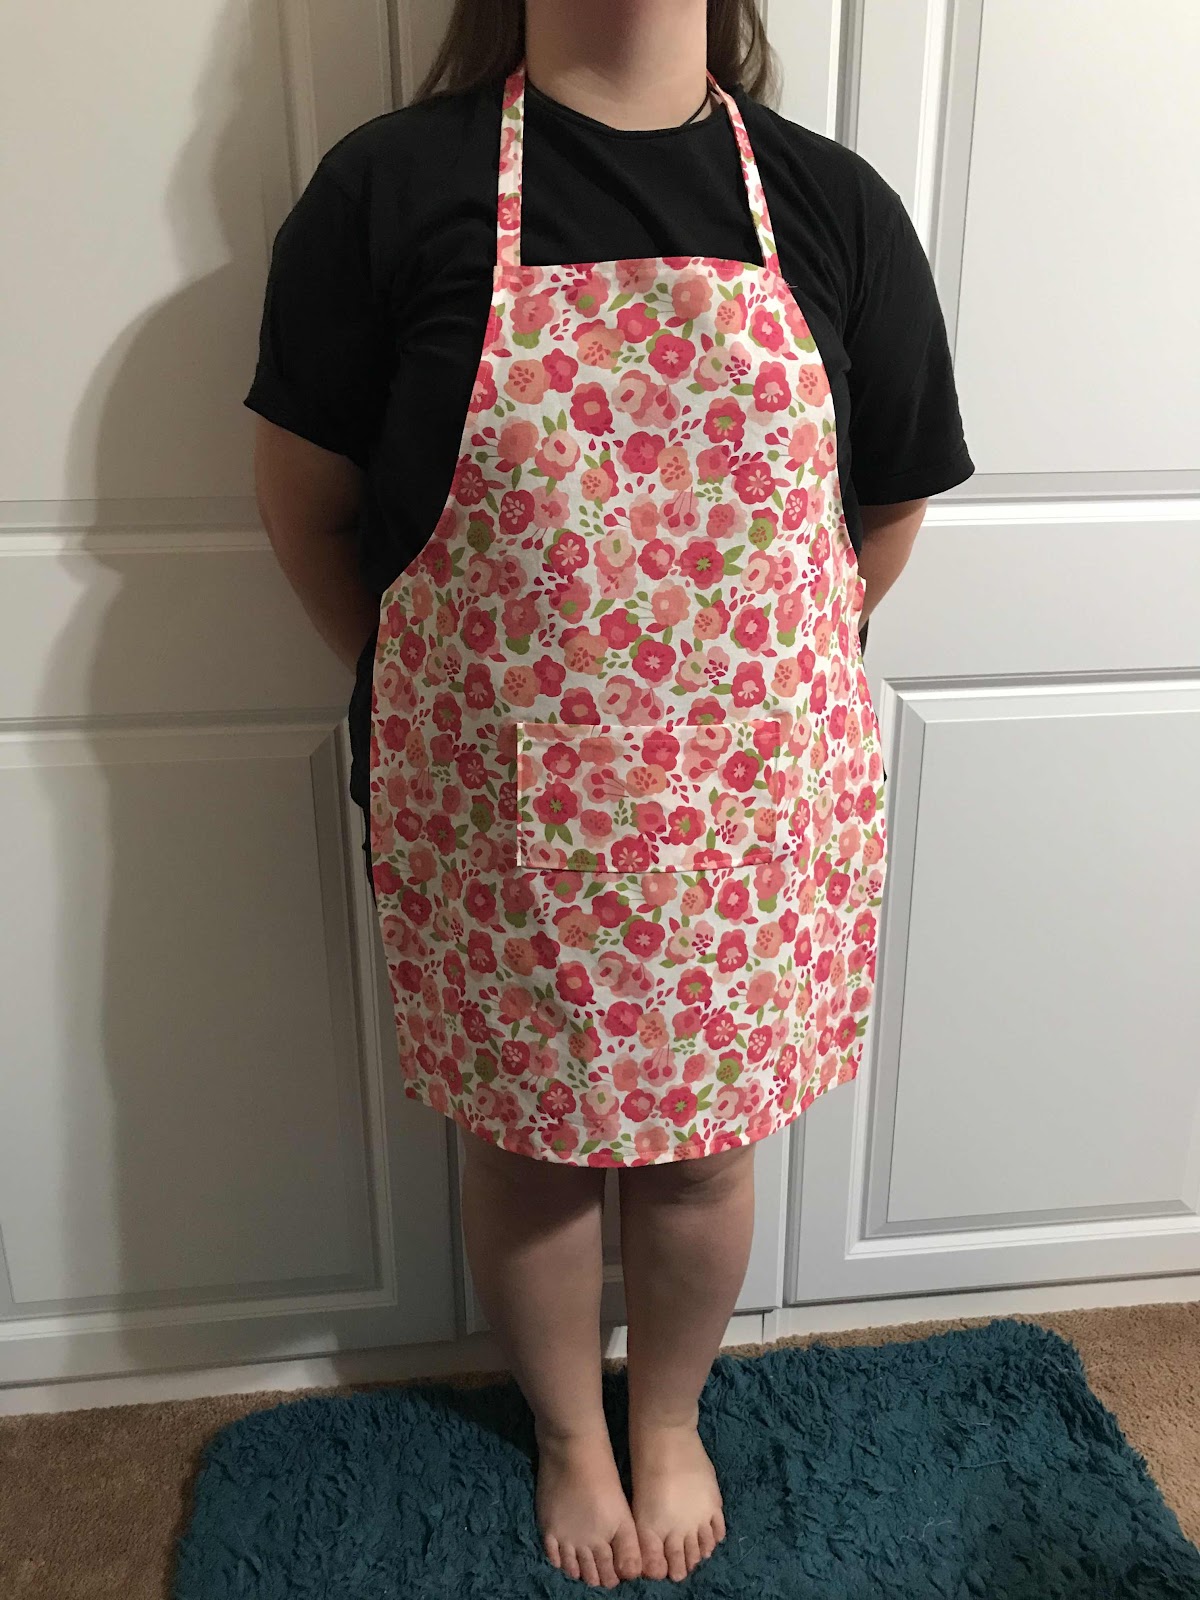
I remembered I forgot to add an apron. Aprons with pockets are awesome. To show off the pocket I put my ink pen in it. 
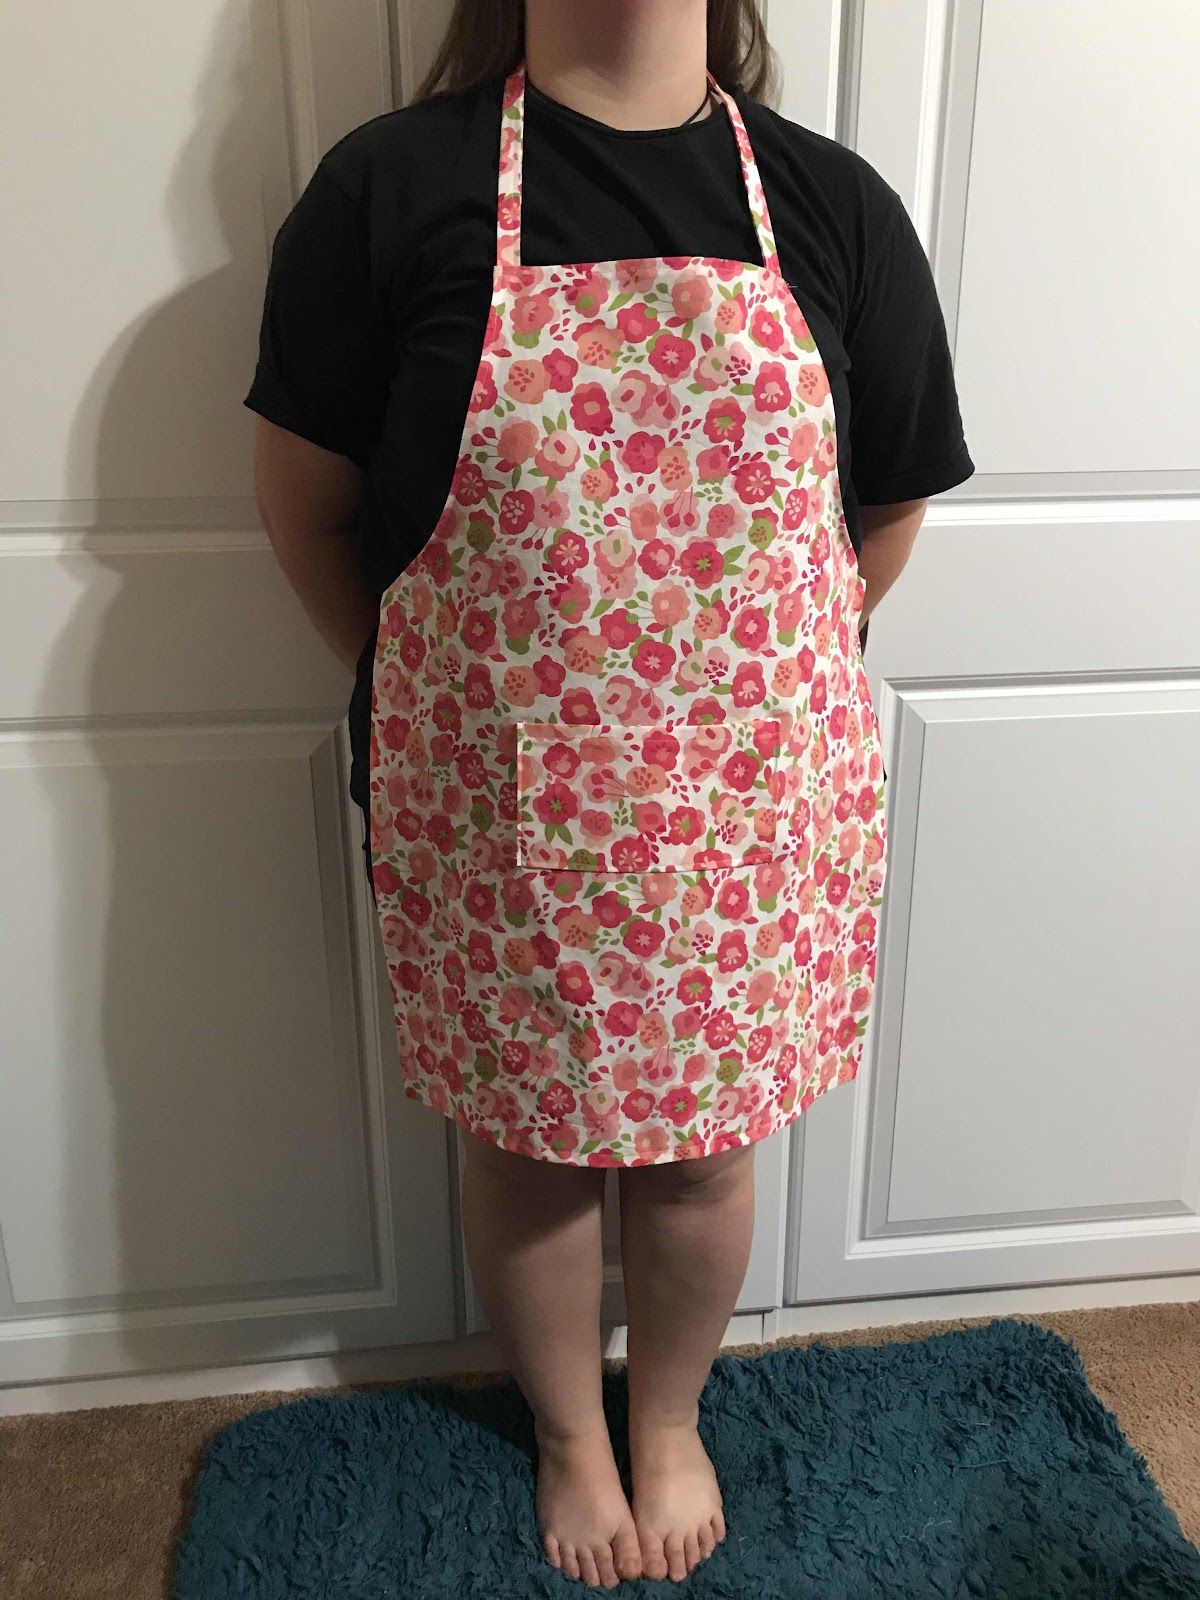

My finished adorable apron. Thanks to my daughter who modeled the apron for me this morning.

I’m glad to have a use for this pretty floral fabric. 
I absolutely love my new apron. 

October 2, 2019

Fall Pillow Covers

My fall pillow covers are darling. 

My pillow inserts are 12 in. x 16 in. I bought them at Walmart for $3.94 each and the yard of fabric was $3.97. So that means just for 12 bucks I have two adorable pillows. 

When I am done with fall decor I can take off these pillow covers and add Christmas pillow covers.

At all crafts stores and other retailers cute holiday pillows are for sale yet I think about having to store your pillow or pillows after the holidays are over until next year. 

When you make different pillows covers you can save so much space. I like how I can wash the pillow covers verses many store bought pillows can only be spot washed. 


September 28, 2019

Gorgeous Wreath

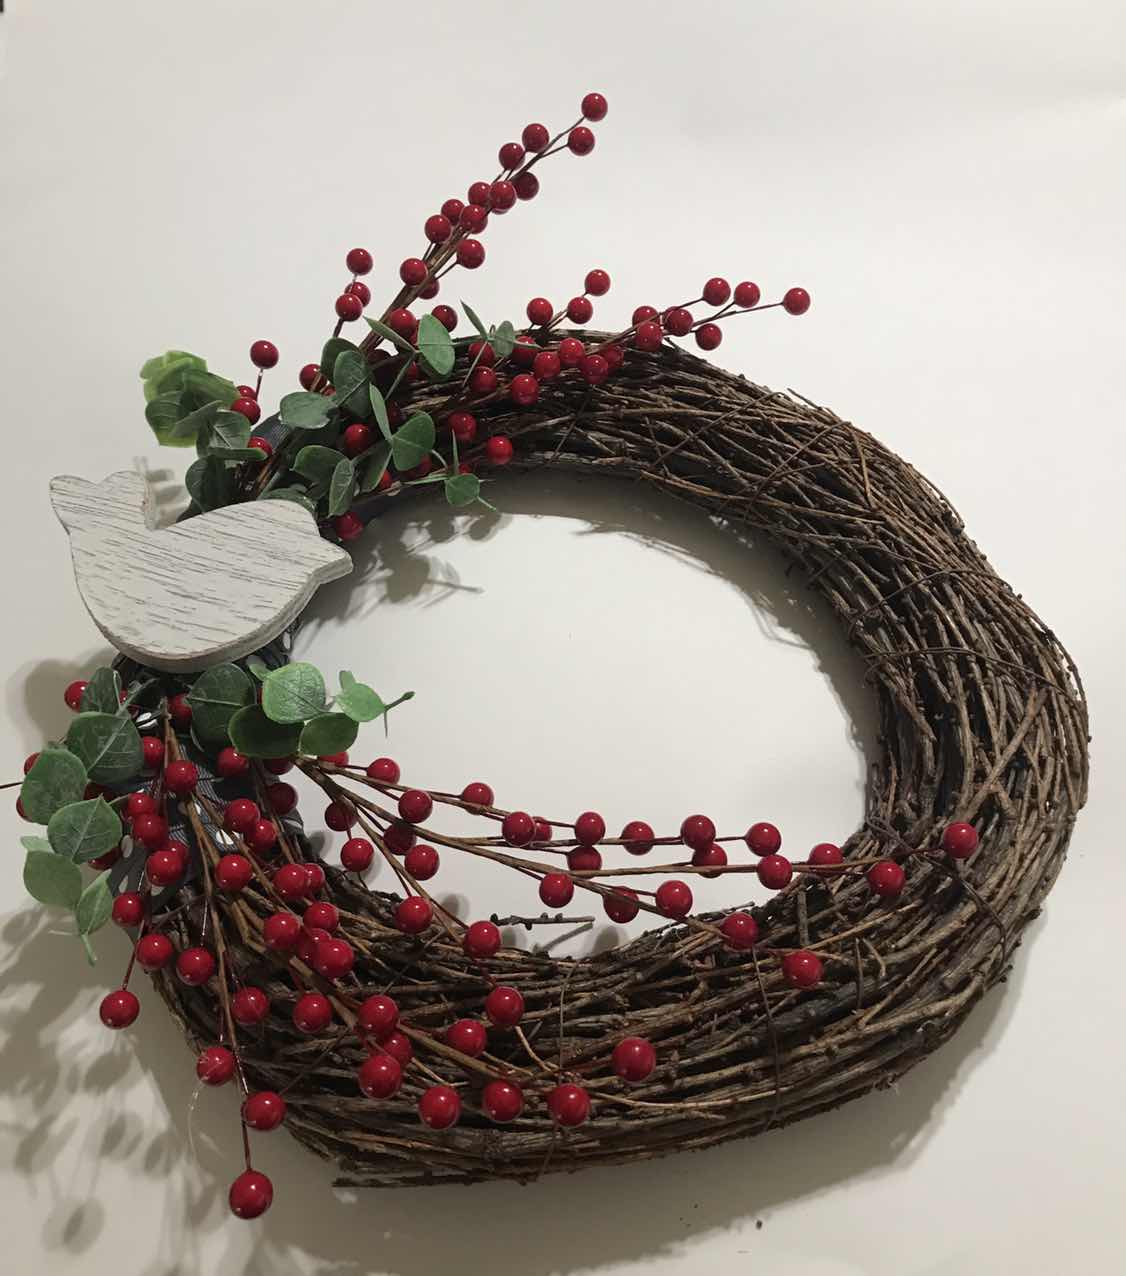
This wreath was easy to put together. 


With my glue gun I added grey ribbon with white polka dots (you can hardly see in these pictures).

I used my glue gun to add the berries and greenery.

The wood bird I added last. I used my small wood stapler and stapled floral wire to the back of the bird then wrapped it around the wreath.

I think it turned out pretty good for the first time putting together.

Quilted Pillow Cover

Look at this beauty...


I had this idea to put different pieces of fabric together and make a pillow cover. I picked different fabrics and sewed them together and used white fabric for the back. 

Usually I made two pillow covers to match but I wanted one to use with my rocking chair. 

This pillow is super pretty to me. I love the variety of colors.